Menu
  • Home
  • Topic
  • ToyotaKarl’s RAV4 Adventure (with engine rebuild)

ToyotaKarl’s RAV4 Adventure (with engine rebuild)

Home Forums Stay Dirty Lounge Repair Central-The ‘How To’ Forum ToyotaKarl’s RAV4 Adventure (with engine rebuild)

  • Creator
    Topic
  • #617728
    A toyotakarlIts me
    Moderator

      This is the story of the little RAV4.

      A few months ago, my Niece graduated from the University of Cincinnatti, and we were all very proud of her. She had never really had a car of her own due to her being a poor college student. So for her graduation, her mother was going to help her buy her a car.
      At first, her mother was going to give her $4,000 towards a car…. Then a few months later the number dropped to $2,000. After all was said and done it dropped to $900…. That is where I stepped in as the uncle. There is no doubt that I will put some money into this car… I have been close with my niece all her life and she is a great kid… So I will be dropping some coin on this car… I want her to have a safe, reliable car that will last for years…. much work will need to be done…

      She asked me to help her find a car…. For $900 I knew it would be a stretch, but since I can work on cars, perhaps we can make something better.
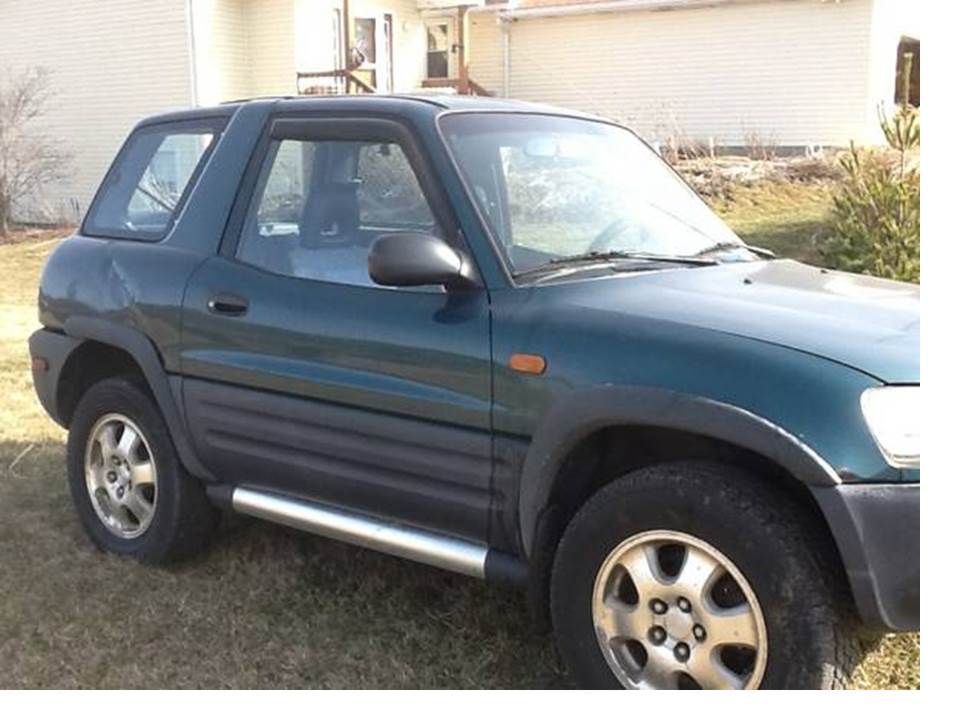
      She wanted a car that got good gas mileage, was small and believe it or not, a manual transmission. Since she is going to live in Colorado, I wanted her to have something with All Wheel Drive and would be sure-footed during inclimate weather. So I found her a RAV4, All Wheel Drive with a Manual 5 speed transmission …
      I went to see the car, it was a 1996, 2 door green model with dual sunroofs!! and as I would find out later, actually a fairly desirable car for this reason (they only sold 2-door RAV-4’s in the United States for model years 1996 and 1997)…
      My Niece loved the look of the car, it was small, manual and she even liked the green color of the car… She was excited. She is currently a camp counselor in Colorado and does not need a car for the summer, so I have until August 15th to complete the work..

      I LOOK AT THE CAR
      I had to make an Early morning drive around 50 miles north of Columbus to a place known as Apple Valley…. Which is north of Mount Vernon, Ohio in the middle of nowhere…. I remember visiting this place as a kid with my Dad… They were pushing this development in the 80’s as hard as they could… Using the offer of Prizes by mail which informed you that you had already won a prize and you could only claim it if you visited the development and heard the Salesman’s pitch about the wonderful amenities of the lake and the incredible beauty and value of the lots which were still available… It was one of those prize contest where the Grand Prize was $10,000 and there were ten second prizes (I believe they were VCR’s, which in 1982 were not that common and were the pinnacle of home theater technology) and the third prize (which everyone won) was a gift certificate for some kind of restaurant I believe…

      This morning there was frost on the ground and in the windows of all unmoved cars. I drove up and the Seller met me after I rang his doorbell. I asked him numerous questions about the car (and a little about him)…
      He stated he worked as an automotive shop class instructor and had worked for a Major Toyota Dealership in Columbus for 20 years.
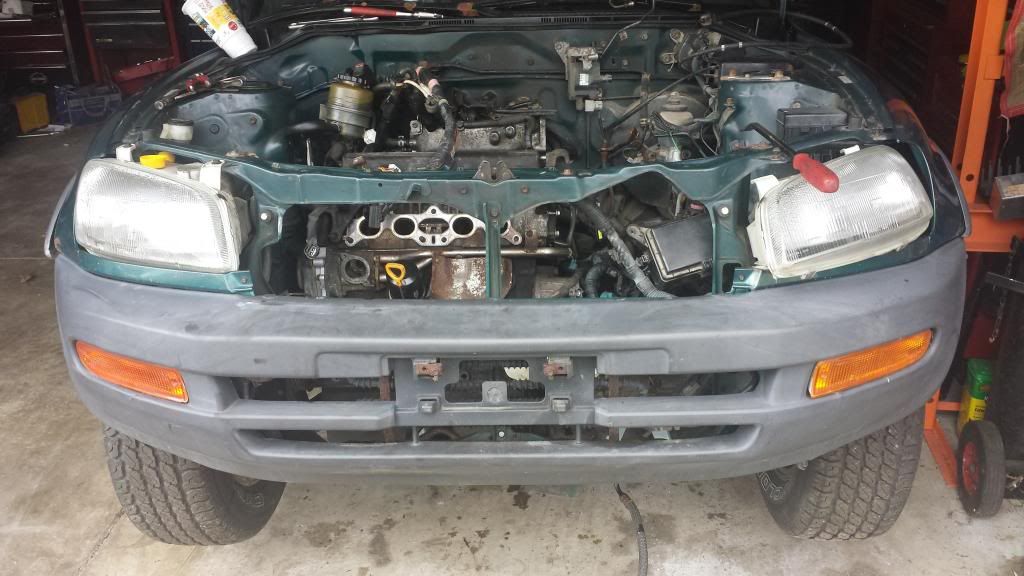
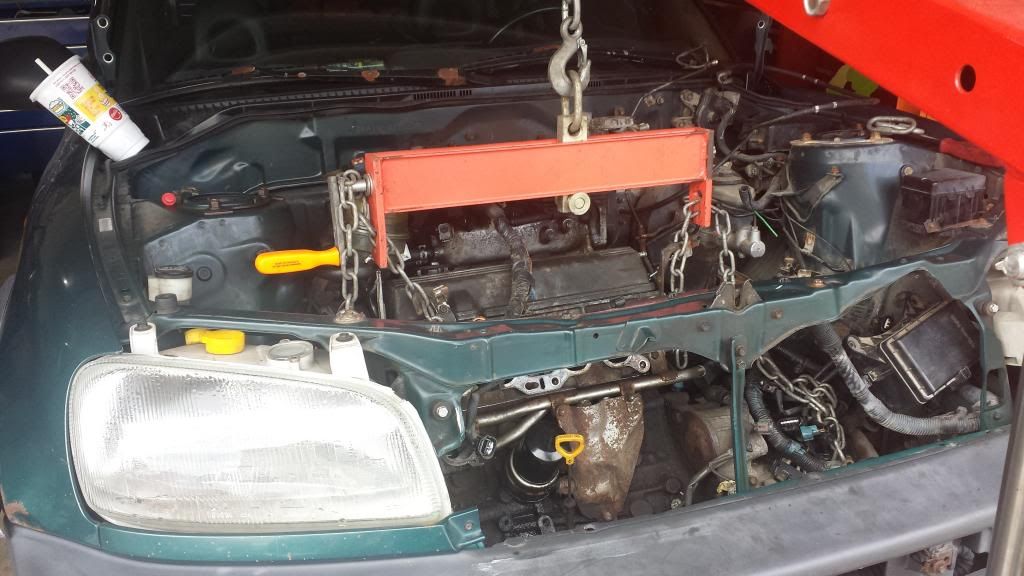
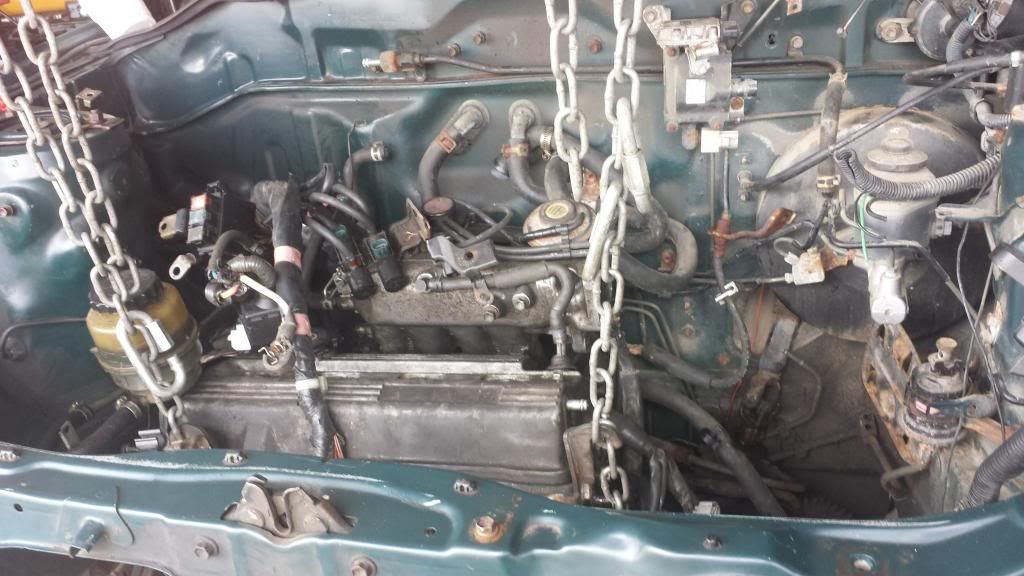
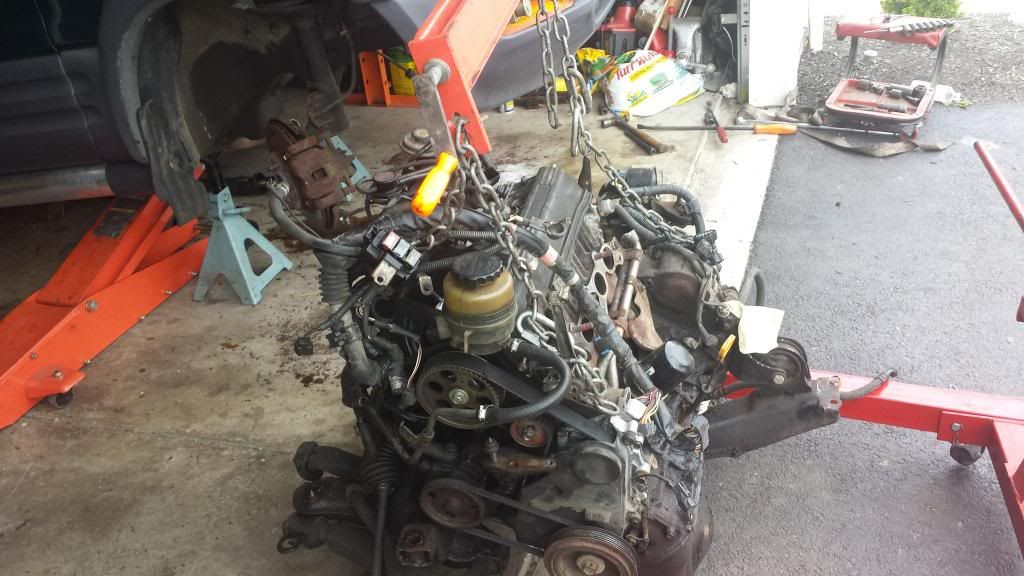
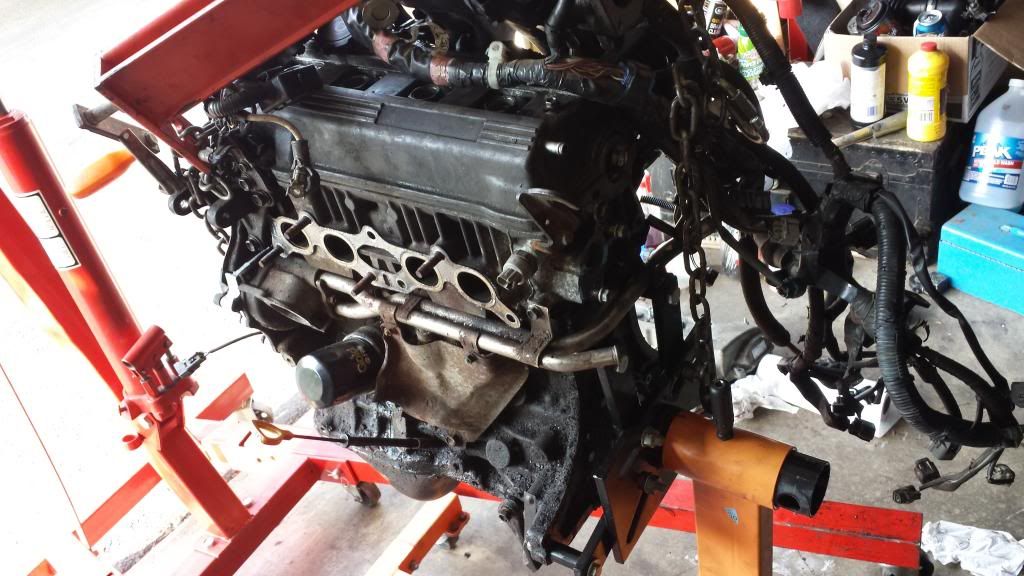
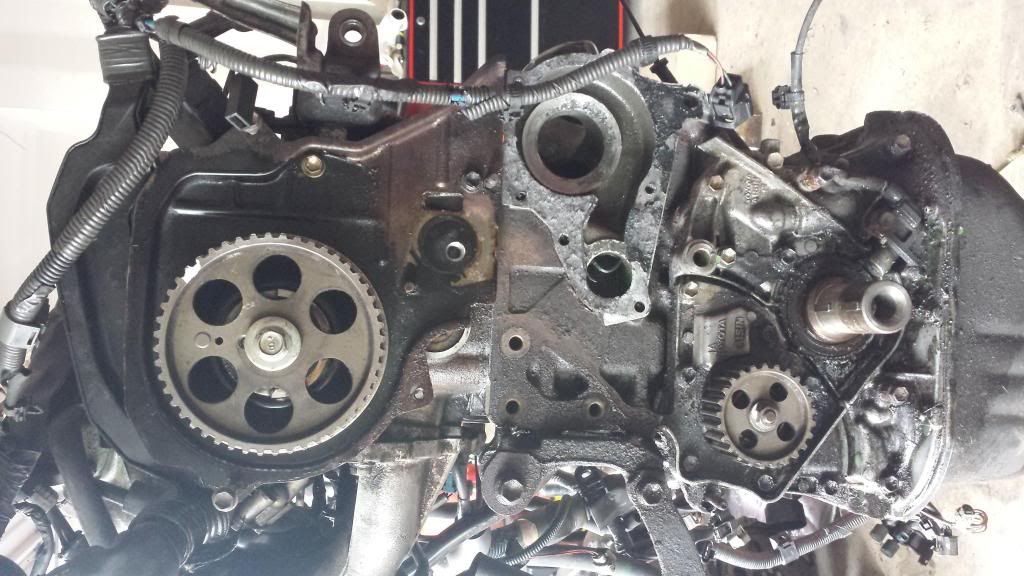
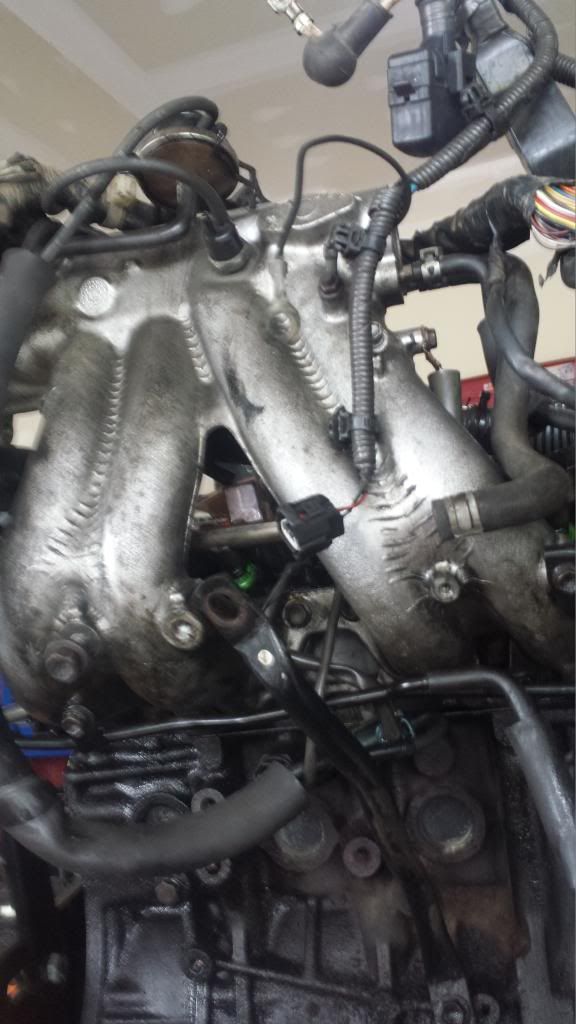
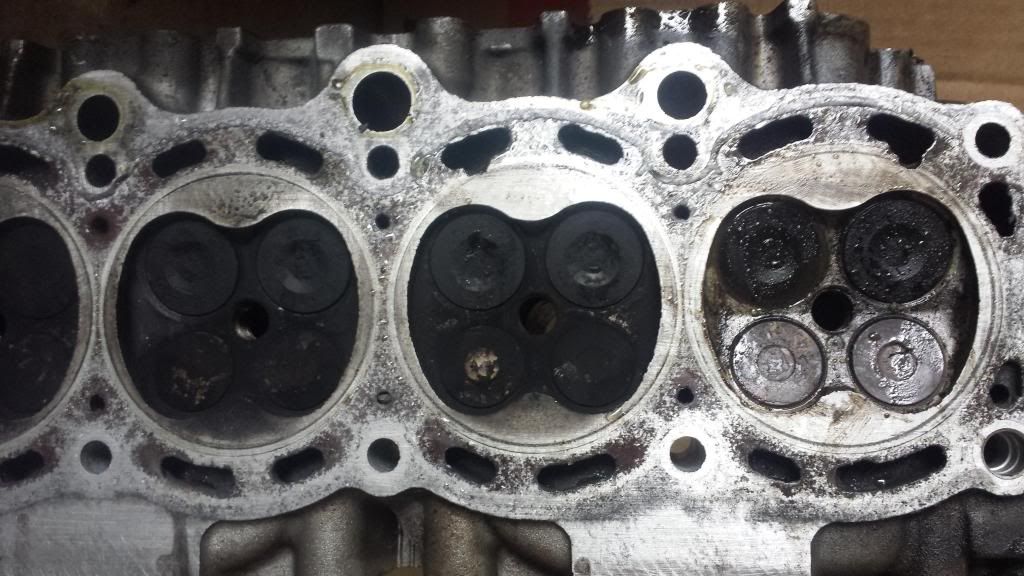
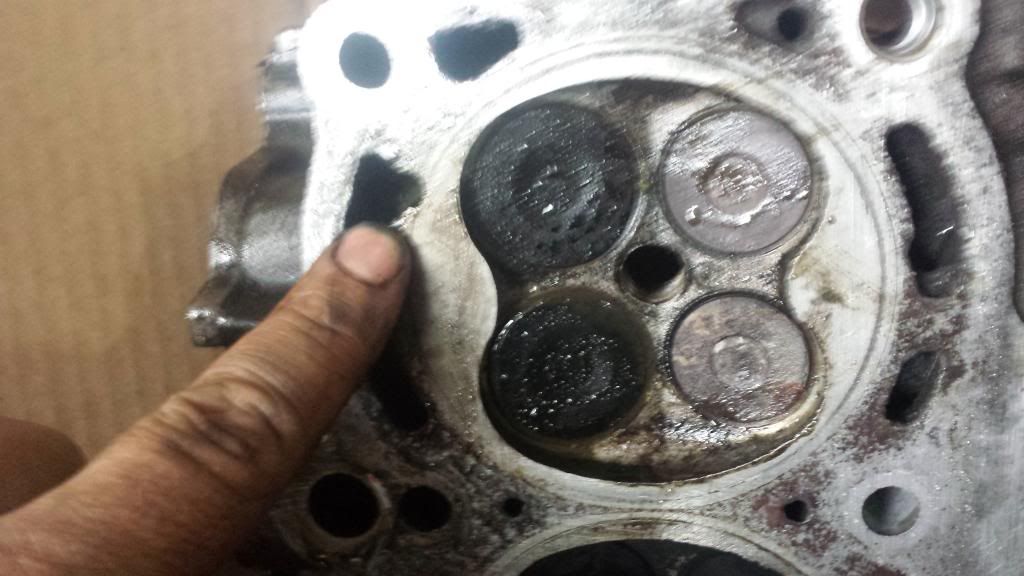
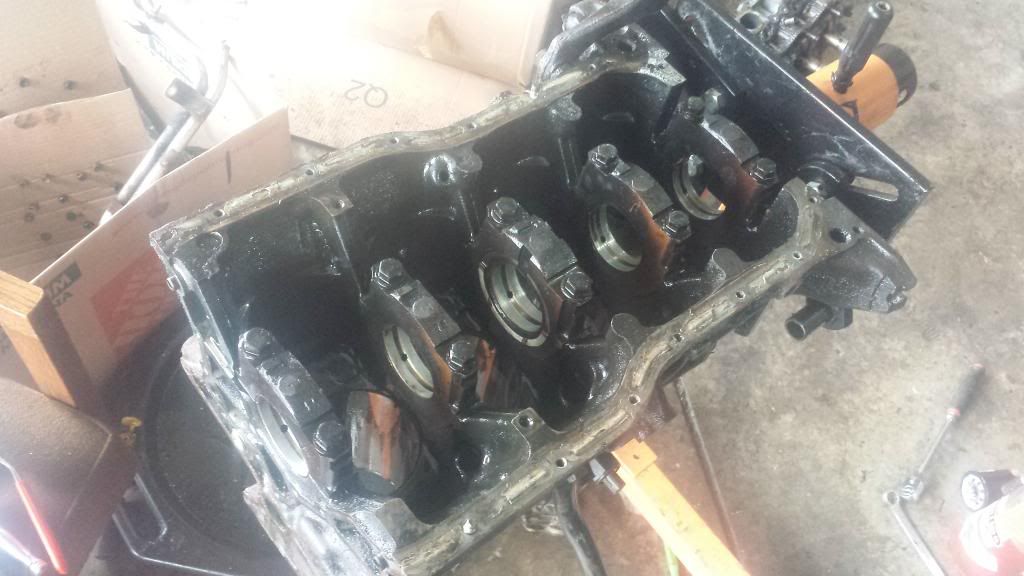
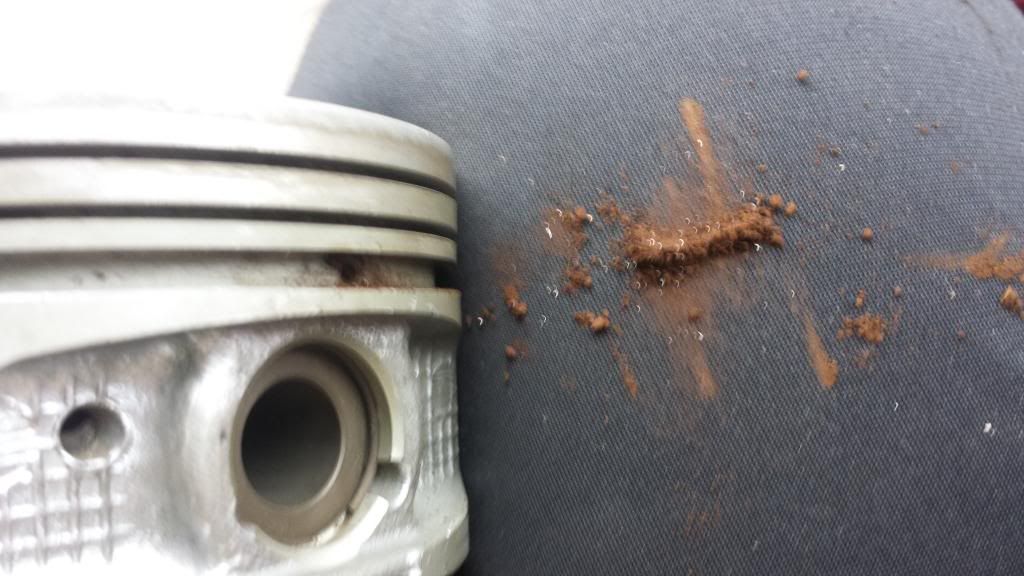
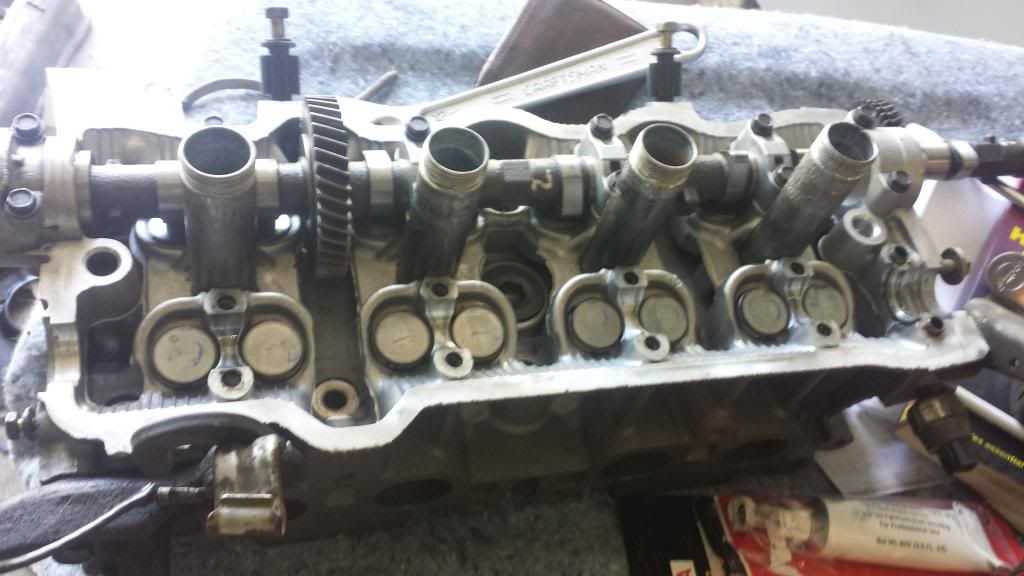
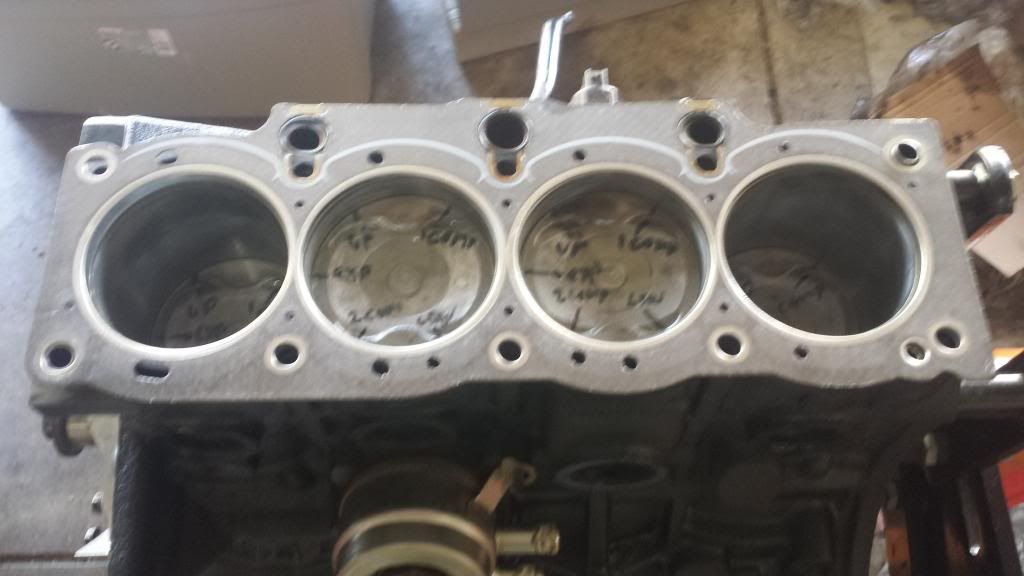
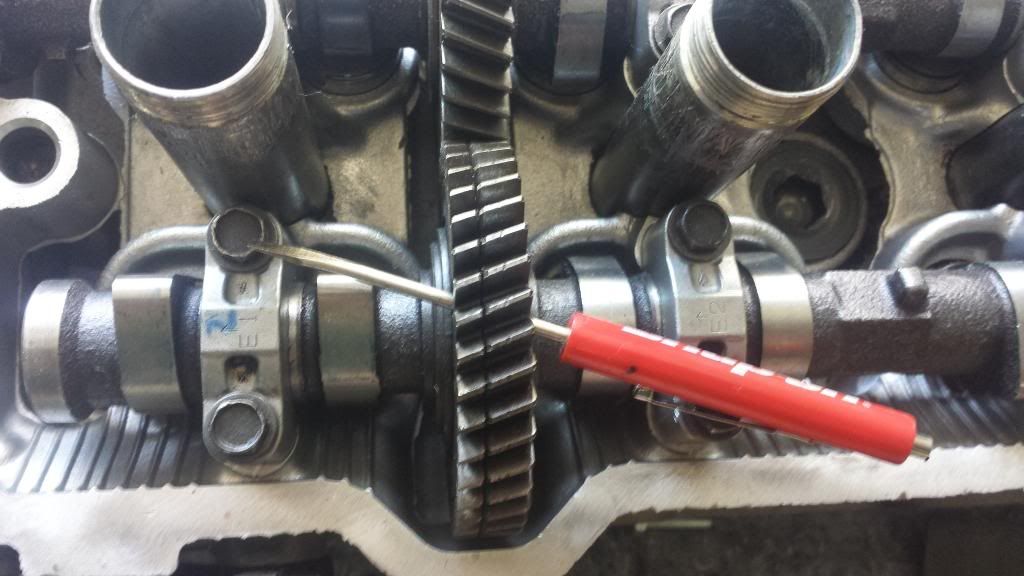
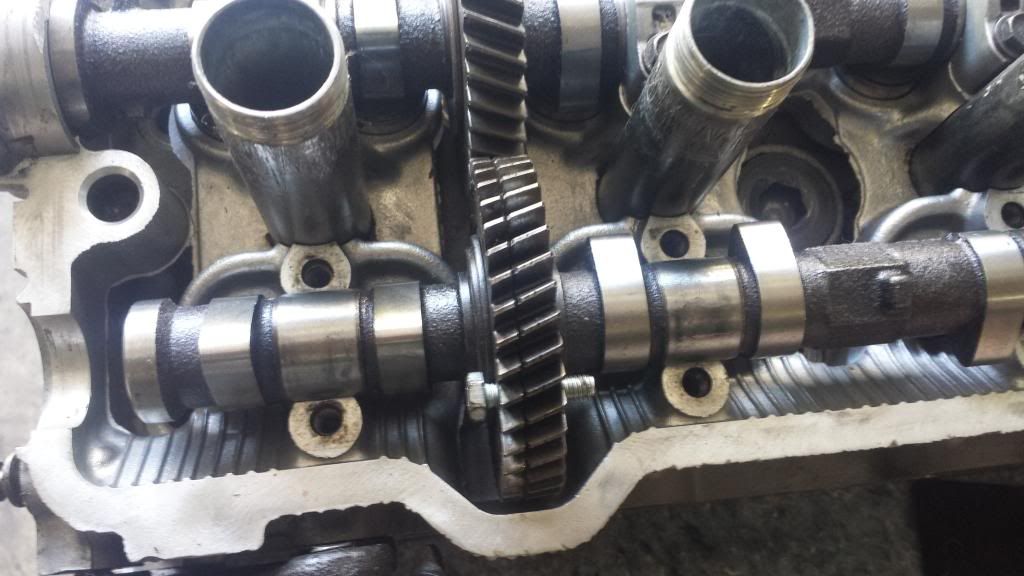
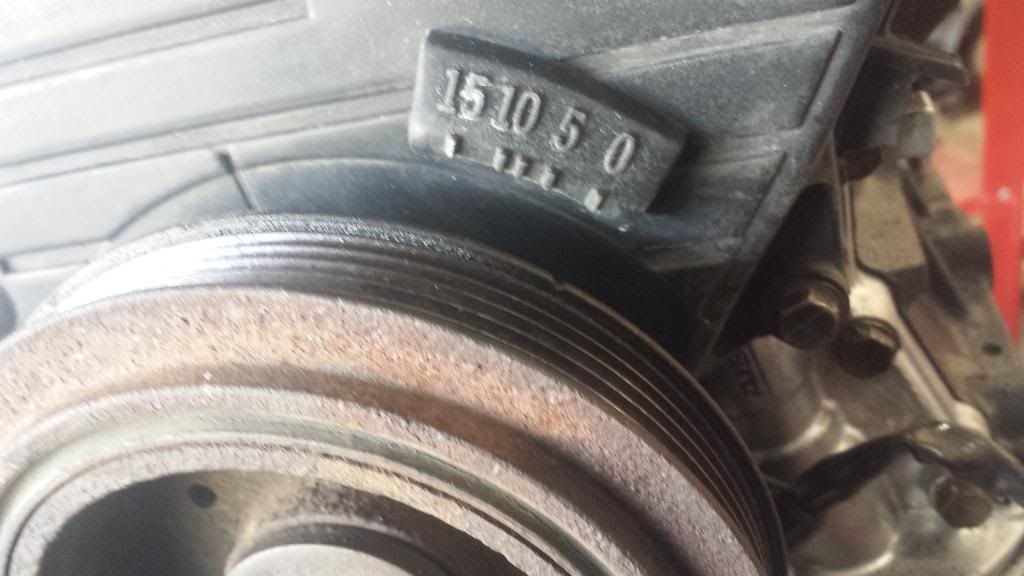
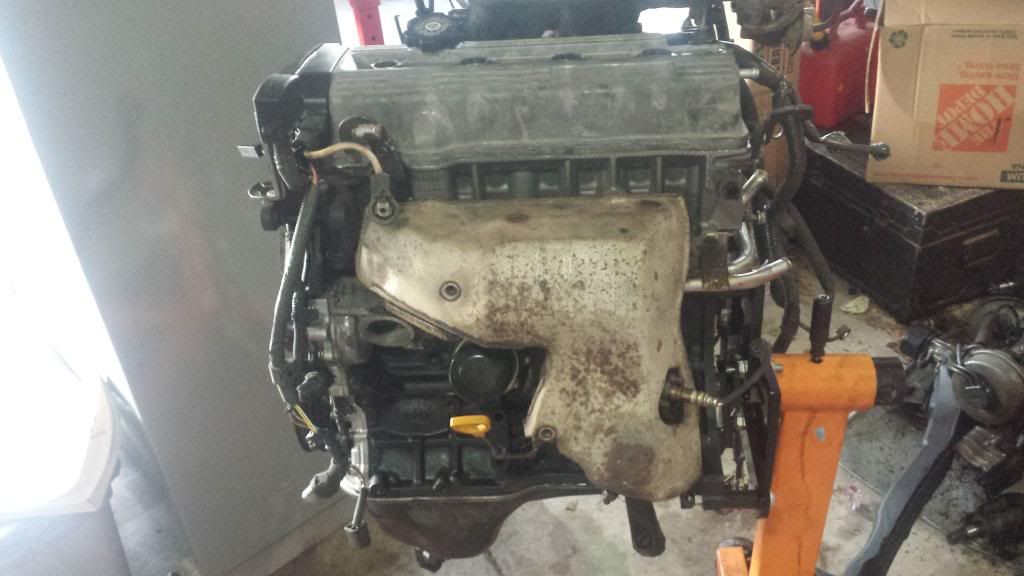
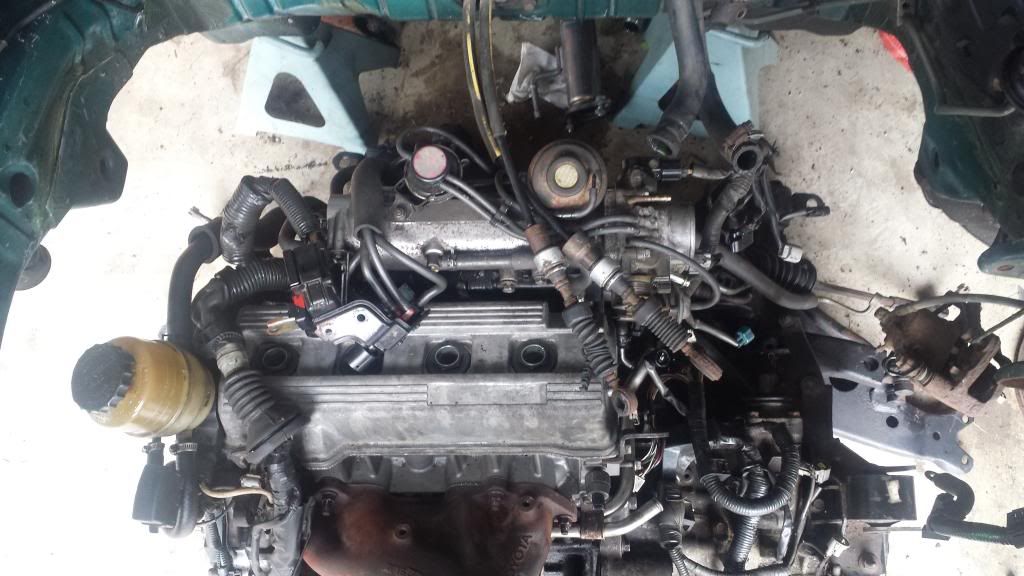
      The car was what I expected for less than $1000 and he told me he believed the #1 cylinder head was cracked and leaking… He bought the car expecting it to be a blown head gasket, so he replaced the head gasket and the problem didn’t go away… The car would start, but smoke would immediately pour out… He mentioned the frustrations of working on this engine a (3S-FE) which is a cast iron block 2.0 liter engine that was the workhorse of Toyota for over a decade (this engine later became the 2.2L). Namely the frustration was that the head location combined with a rear plenum provided little access to remove the head… Couple this with miniscule access to the timing cover and I could sense the frustration as well… He lifted his arms to show all the scratches and he said the he never wanted to do this job again… On the plus side, the 3S-FE is a great engine and known for its reliability…

      I did agree something was wrong, it was burning plumes of thick white smoke…
      As I walked around the car I noticed what appeared to be a 22 caliber bullet hole in the drivers side of the car… As I asked him about it he mentioned that when he got the car the window was broken as well….
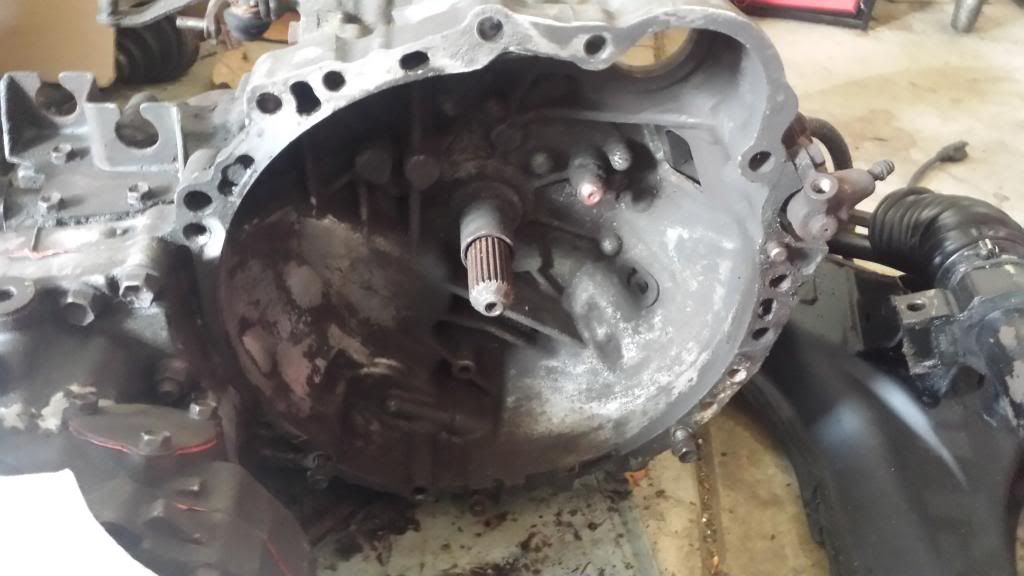
      This naturally brought up the question of how he acquired the car… He did not go into full details, but what I could gather it was owned by a student of his and he had worked on it before… (including replacing the 5th gear on the transmission, which was a known problem for this car)
      Later as I would tell this story about the bullet hole I was surprised at the amount of people who found this very disturbing…. Like it was a murder scene or something…..

      I looked at the bullet hole as something quite different… As a teenager of driving age I remember going to a buddies house and us shooting his .22 out on his farm… And guess what was on that farm… A Shootin’ Car…. Not completely unknown around where I was to have a Shootin’ car…
      Well I believe this car was on the short list to become a full time shootin’ car for someone but was sold to our auto shop teacher who believed he could get it to work… and possibly flip it for a profit..

      As I ponder this car I look it over… it has its share of underside rust pickling (not uncommon for an Ohio car of this Era to have) and the complete lack of any exhaust system (a straight pipe).
      I offer him $600 for the car, and he comes back that the least he can take is $700…. So I agree…
      I give him a deposit and told him I will return in a day with a dolly to tow the RAV back to my house…
      The next day I visted the local Hardware store which has a tow dolly for the RAV… Since the RAV is All wheel drive and I don’t feel like disconnecting the drive shaft… So I get a tow dolly which the vehicle has to be completely driven on… First blood has been drawn with expenses for this vehicle… $63 for a one day, same return location rental of this dolly….
      I drove back to Apple valley and pay the man the rest of the money for the RAV4 , he is nice enough to start the RAV and drive it up the dolly… The car is coughing, wheezing, leaking coolant and smoking the whole 20 foot drive onto the dolly…..
      He hands the title over to me with the exchange of the remaining cash… A clean title and a car that needs a lot of work…. I am sure he was happy to see that RAV go…

      On this adventure. I have:

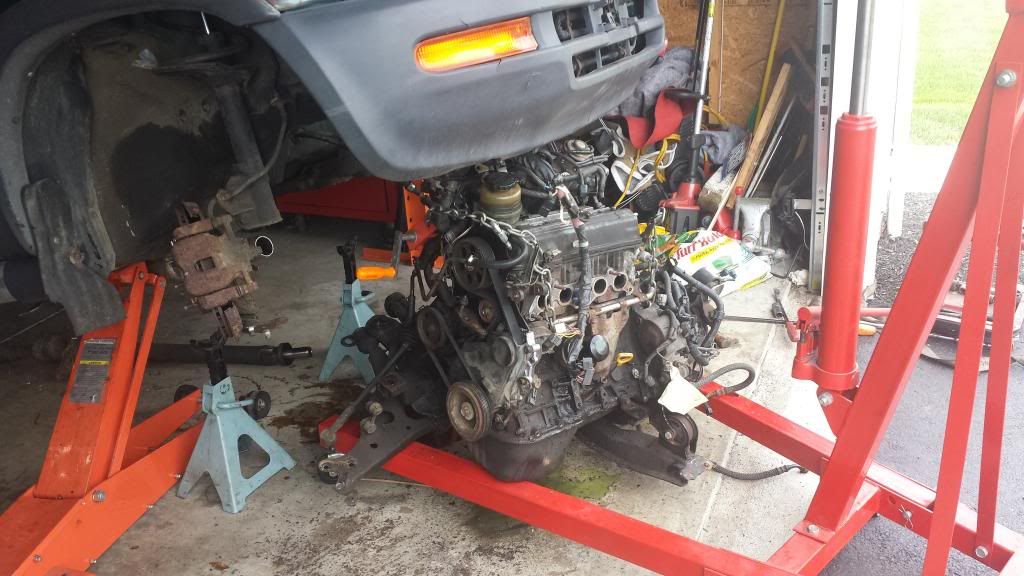
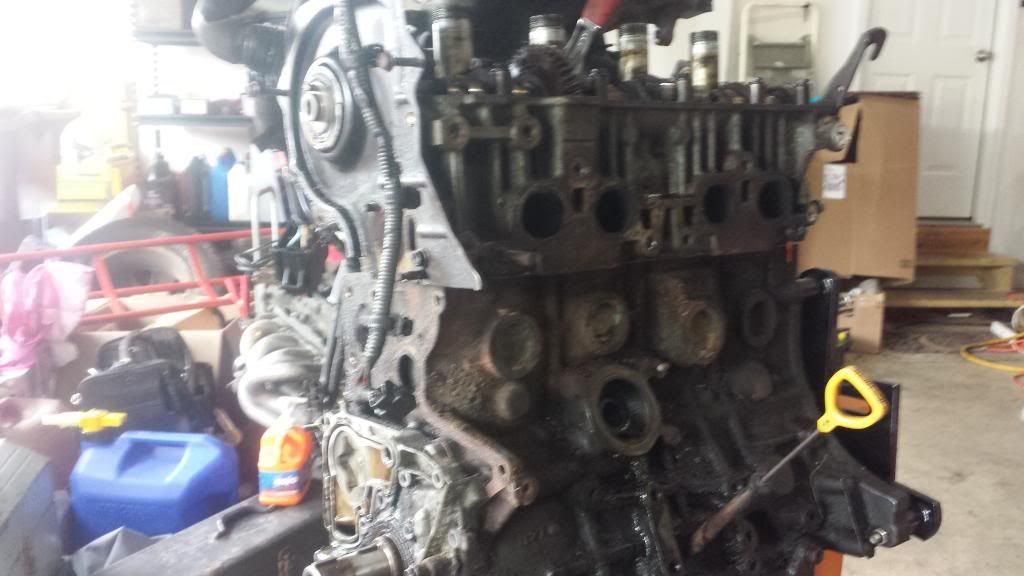
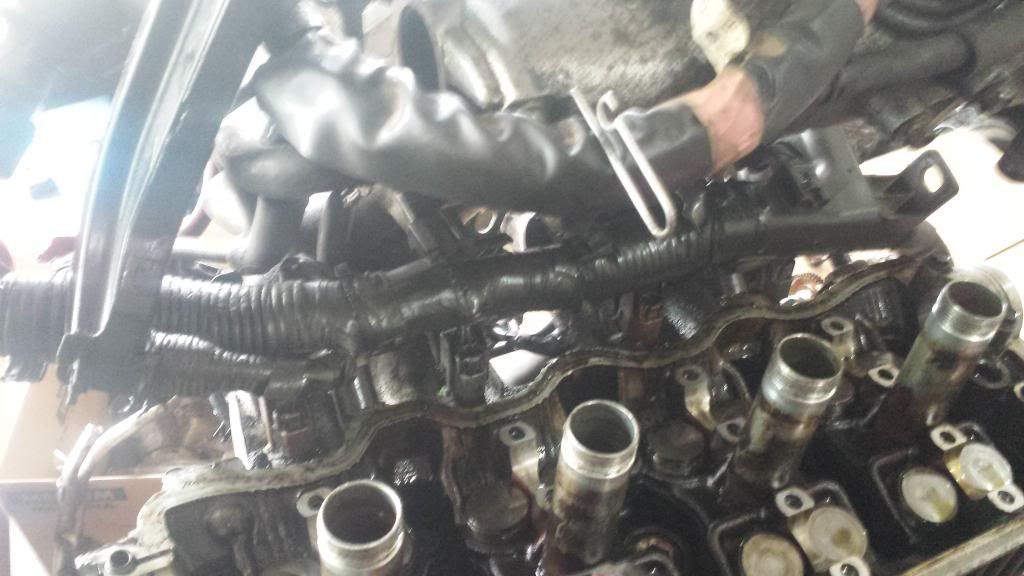
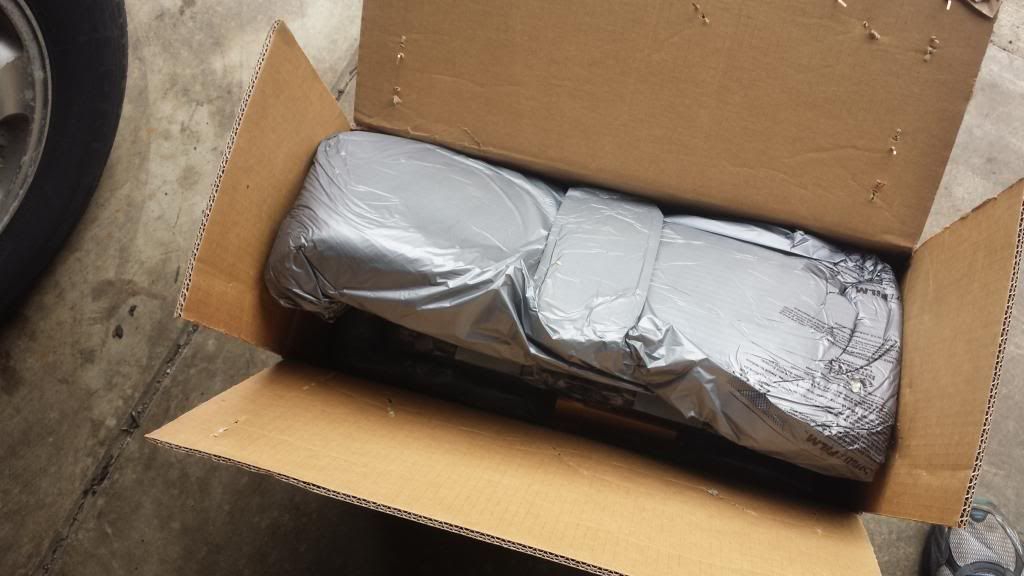
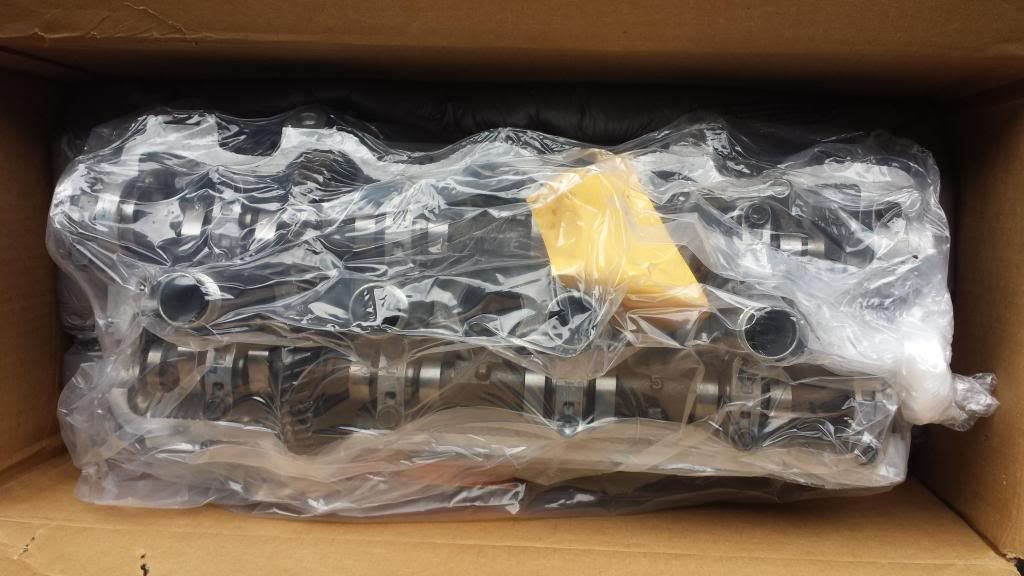
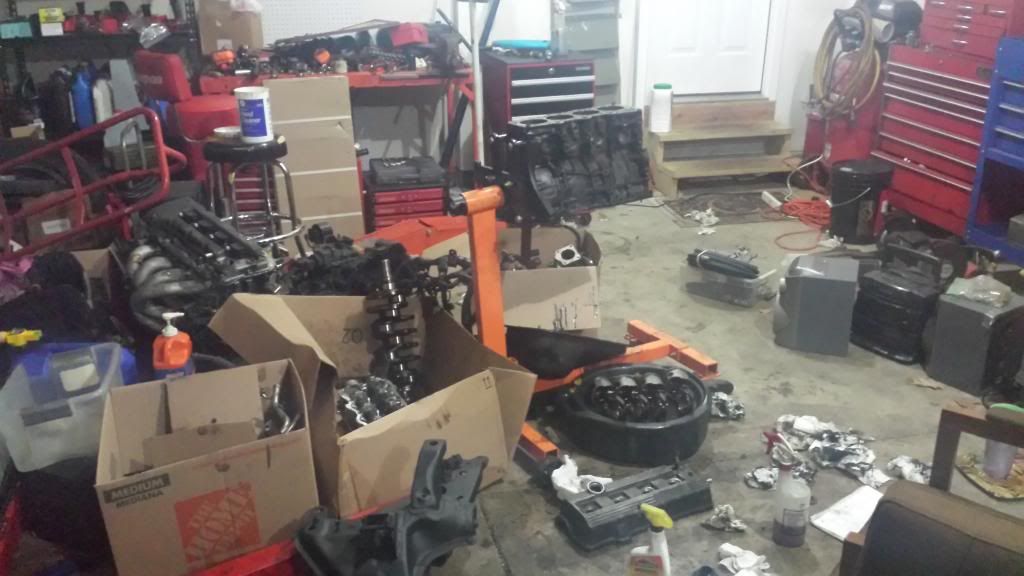
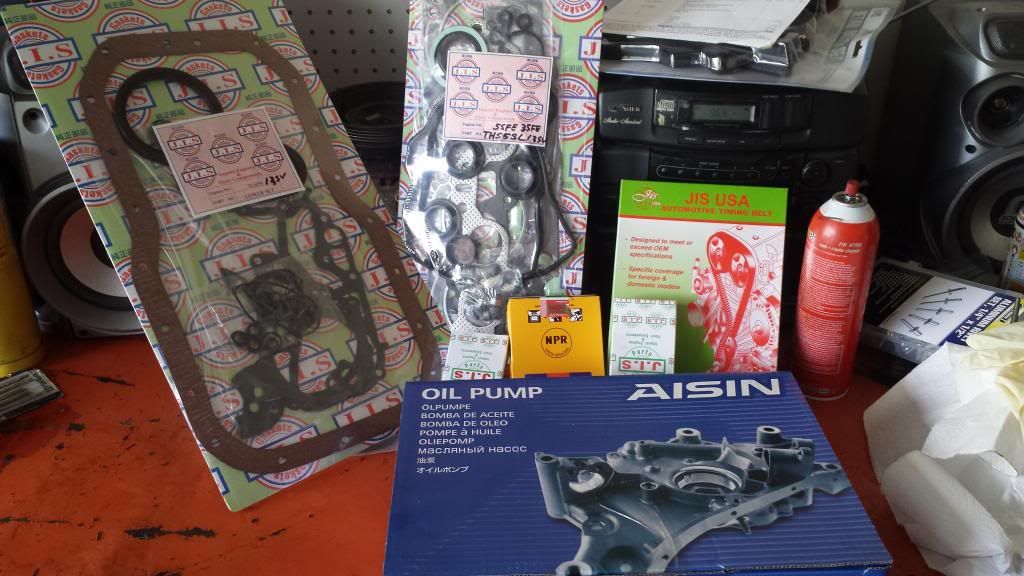
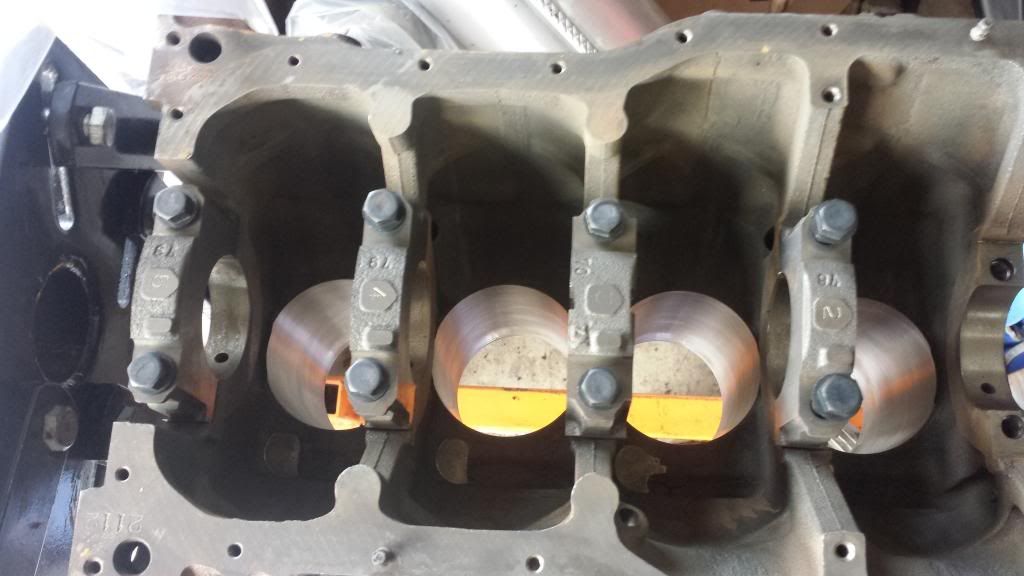
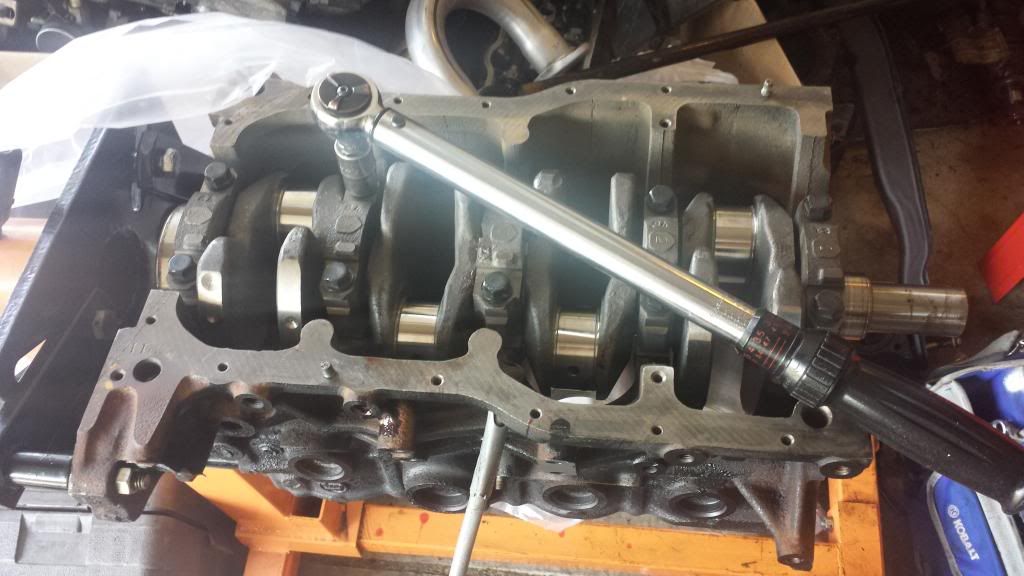
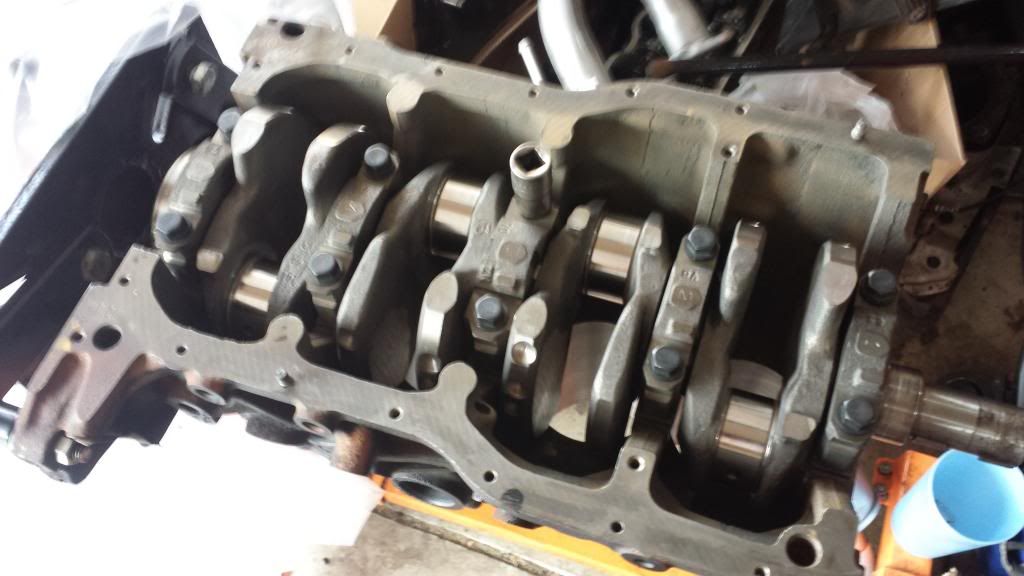
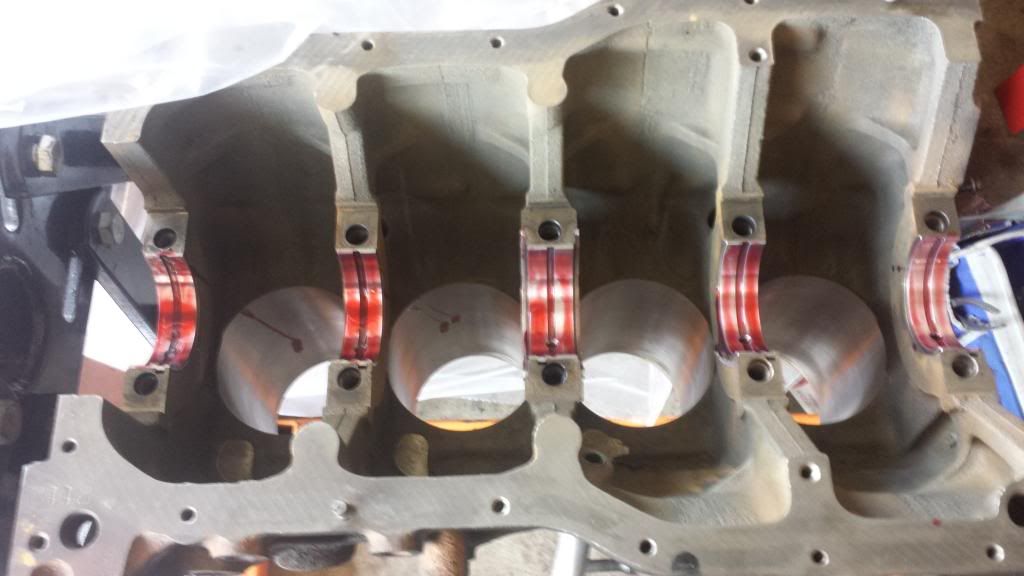
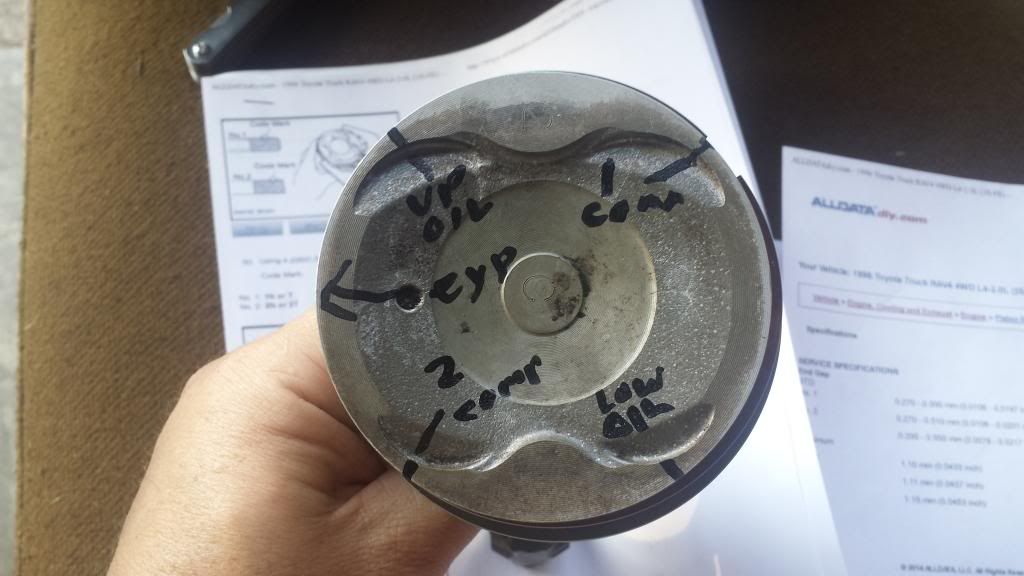
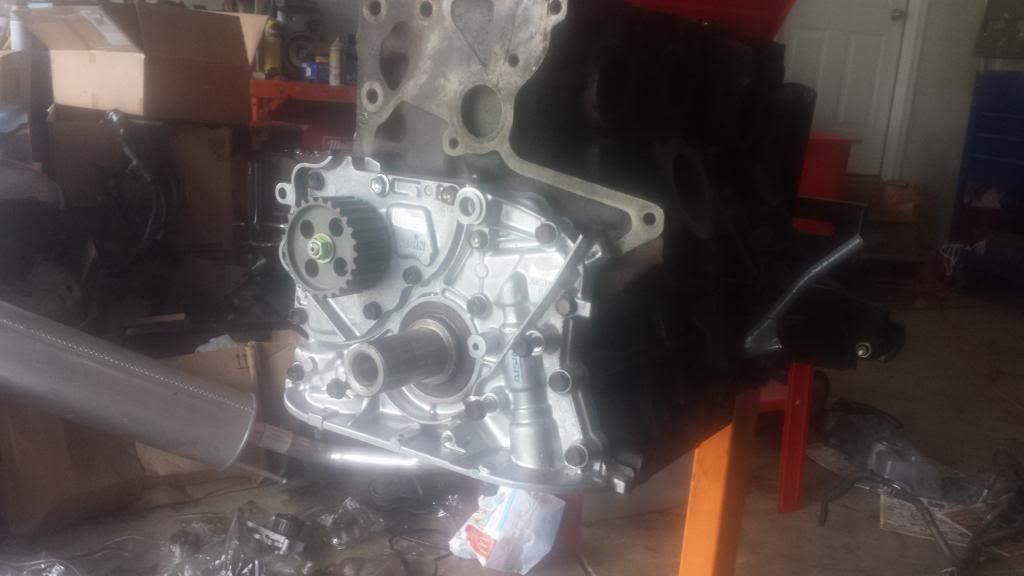
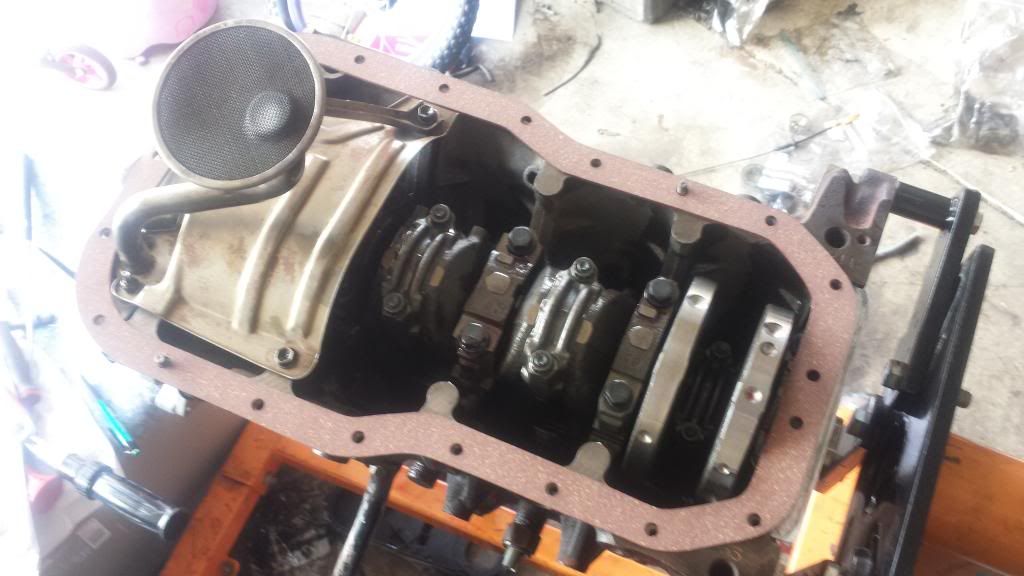
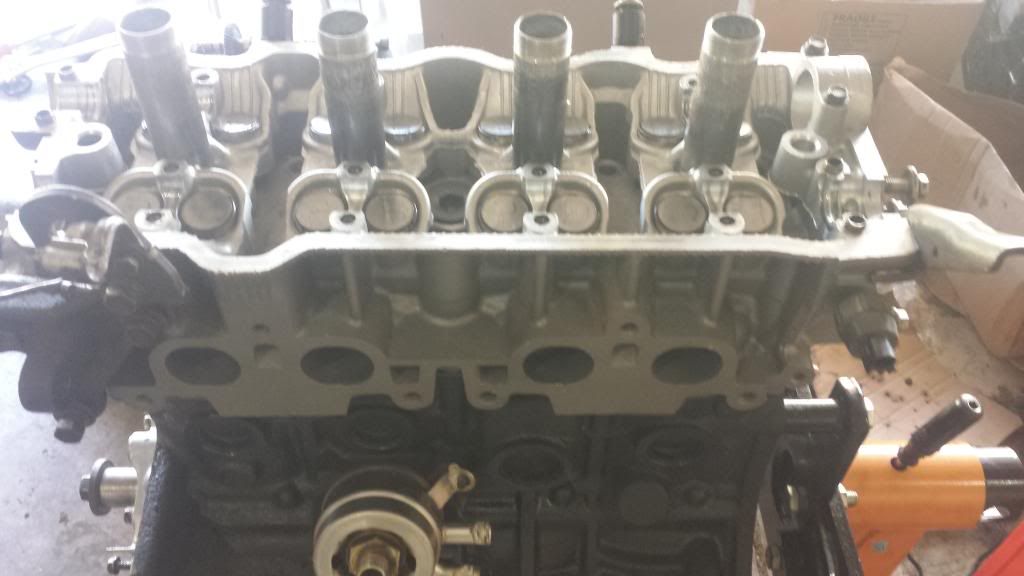
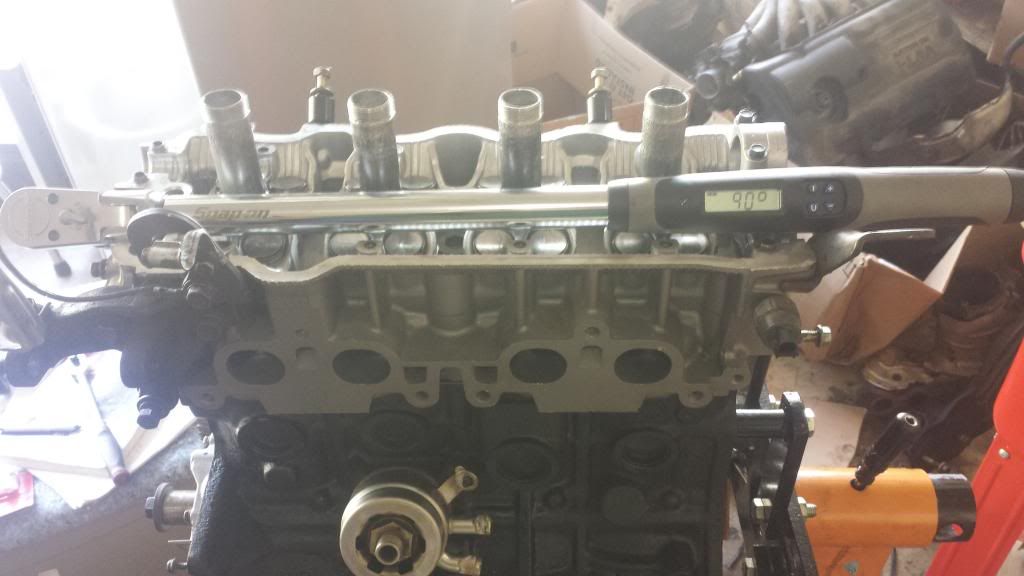
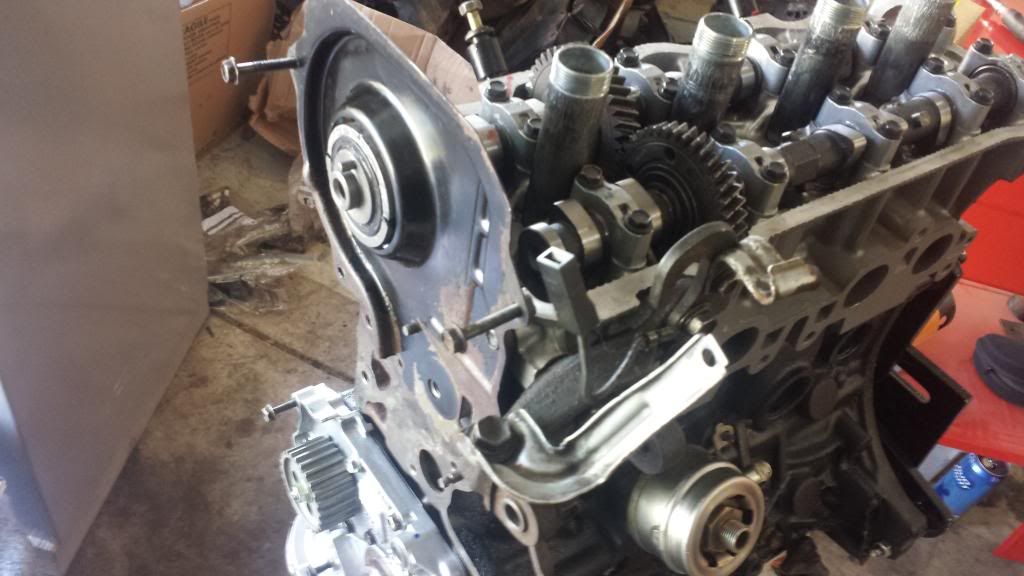
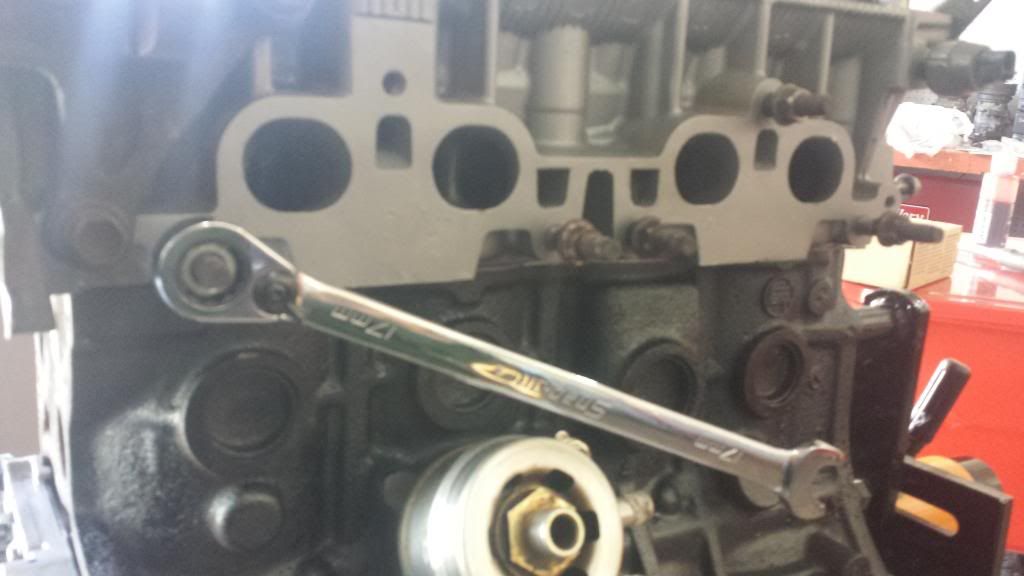
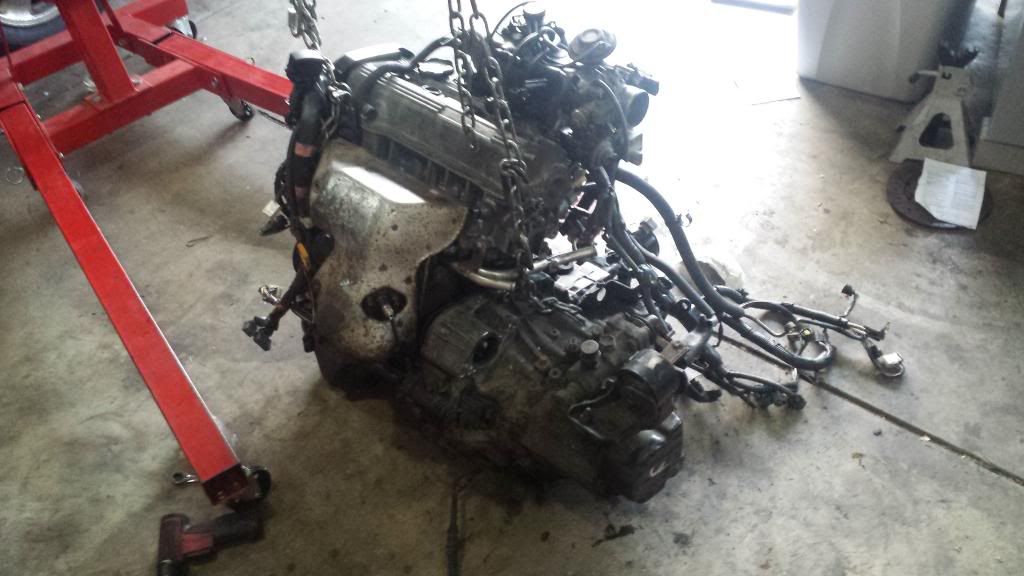
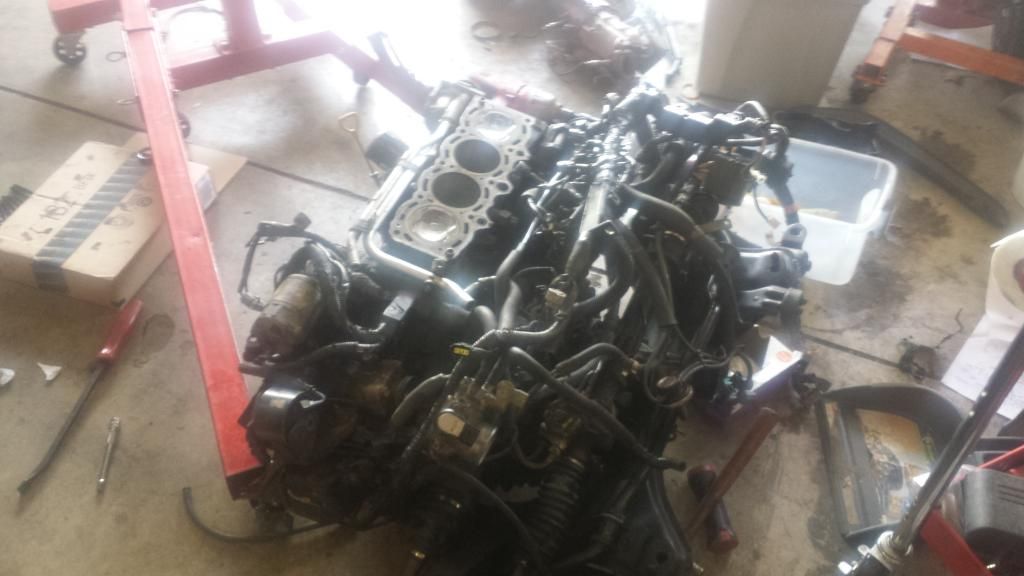
      Rebuilt the engine… Stripped down to bare block
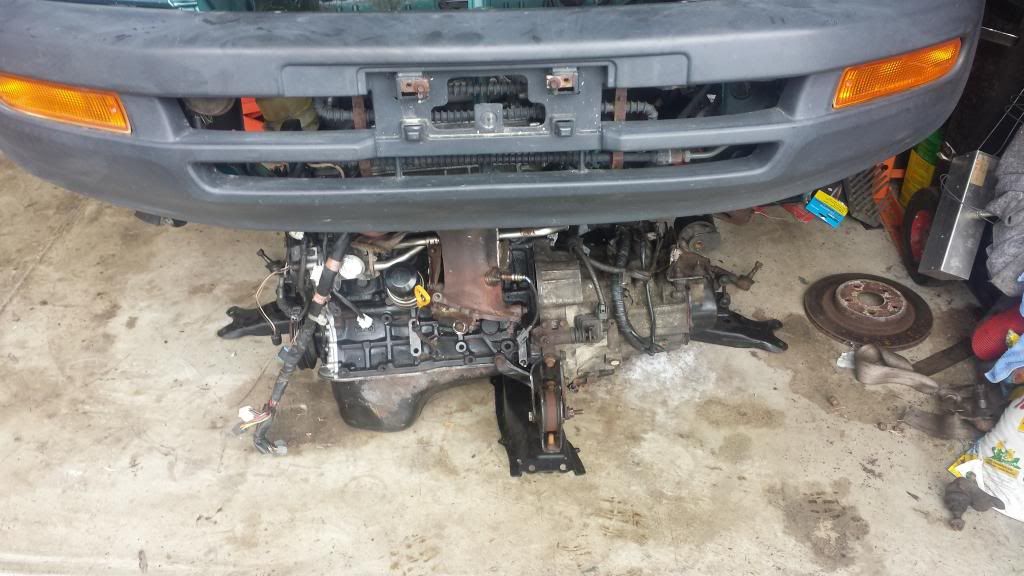
      Removed the engine (twice)… Got shipped the wrong head.
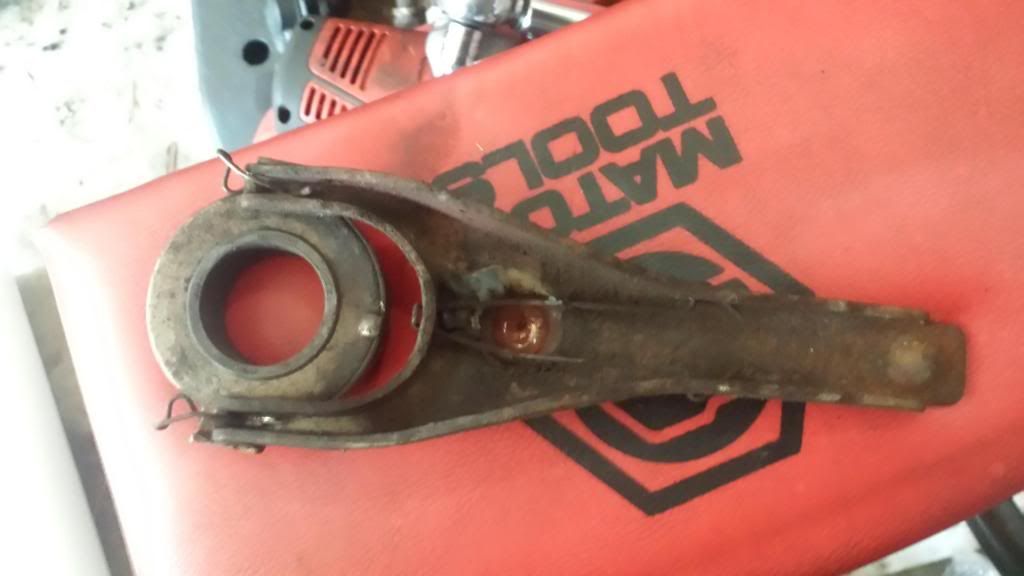
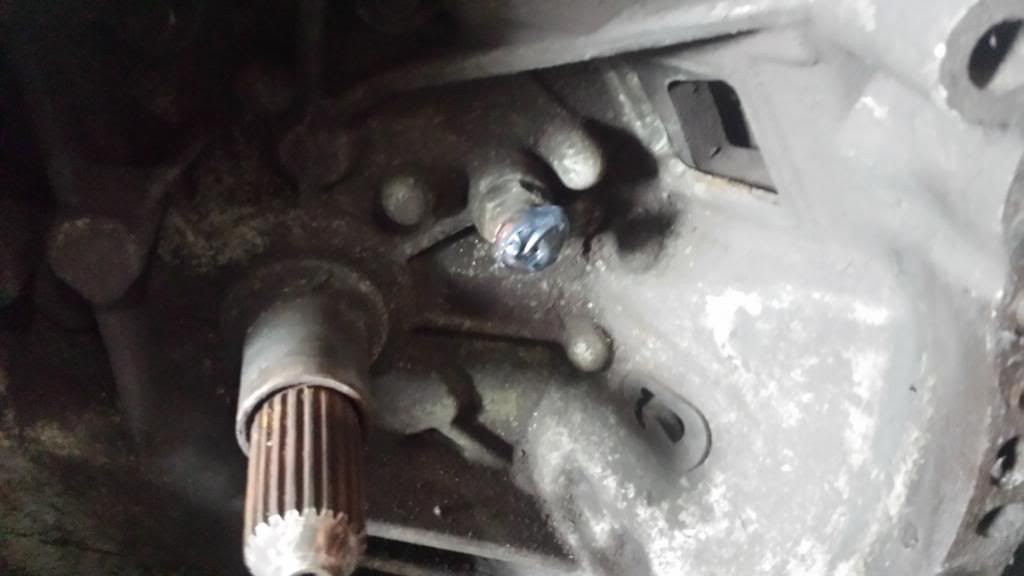
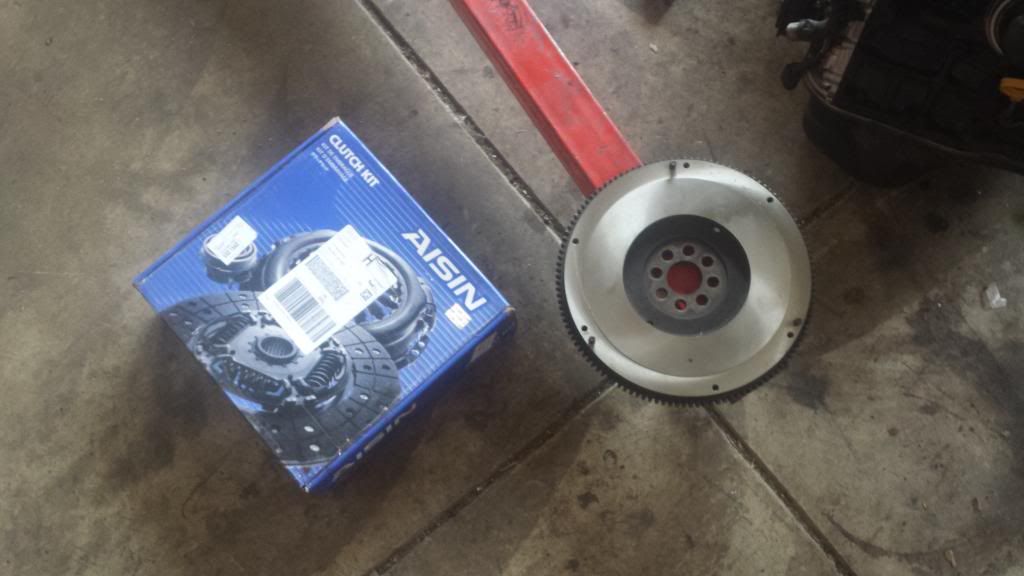
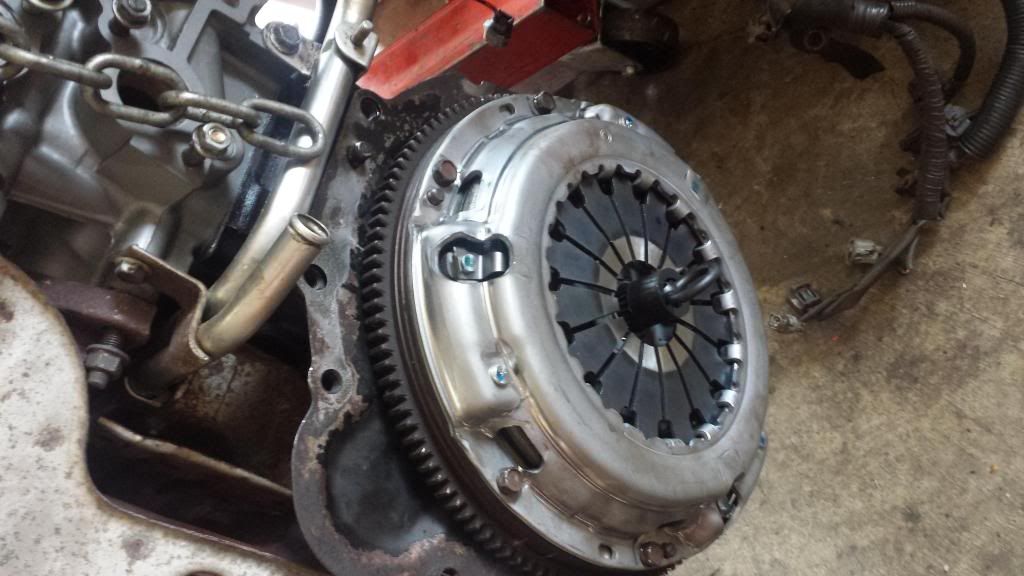
      Replaced the clutch, pressure plate and got the flywheel re-surfaced.
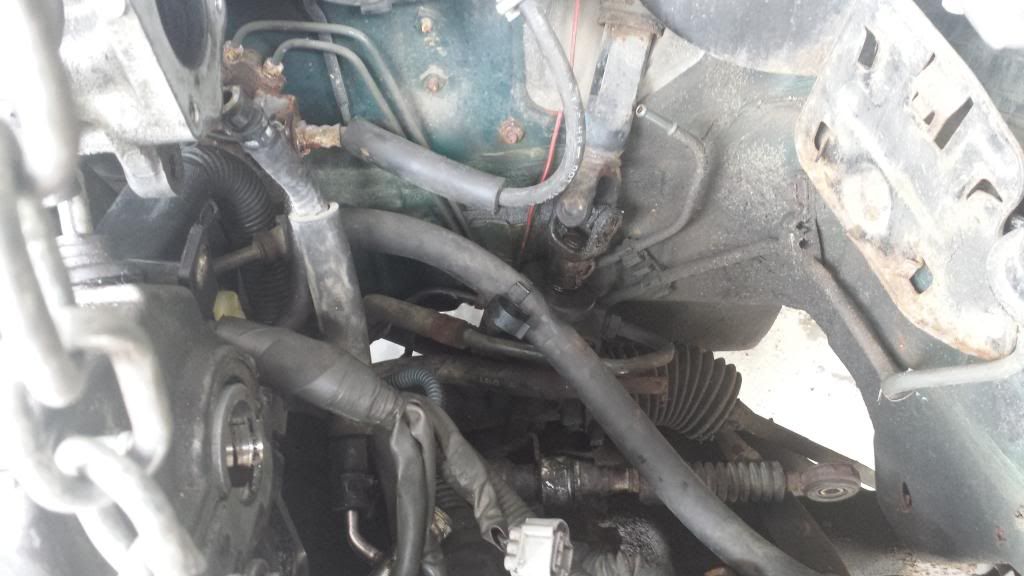
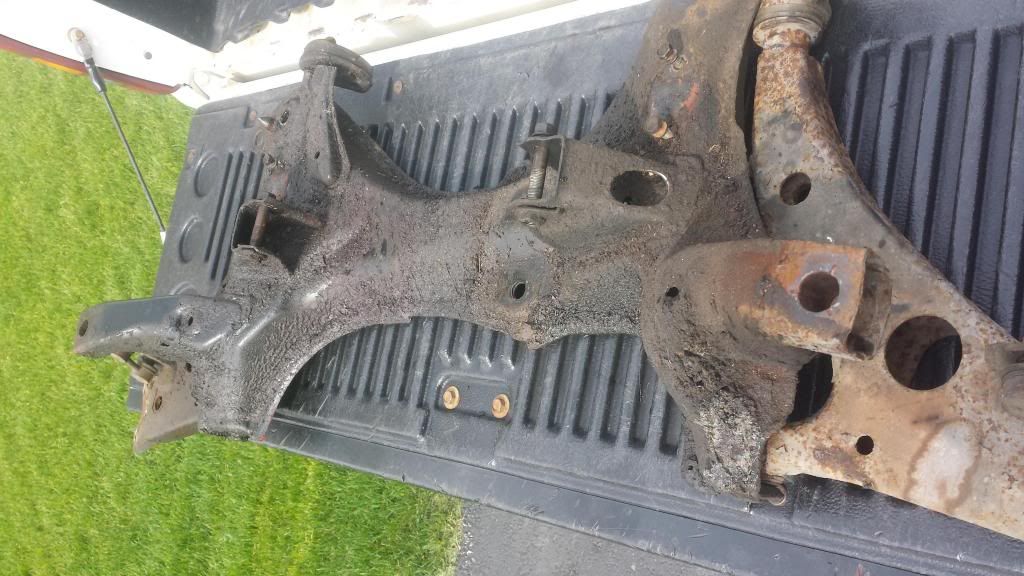
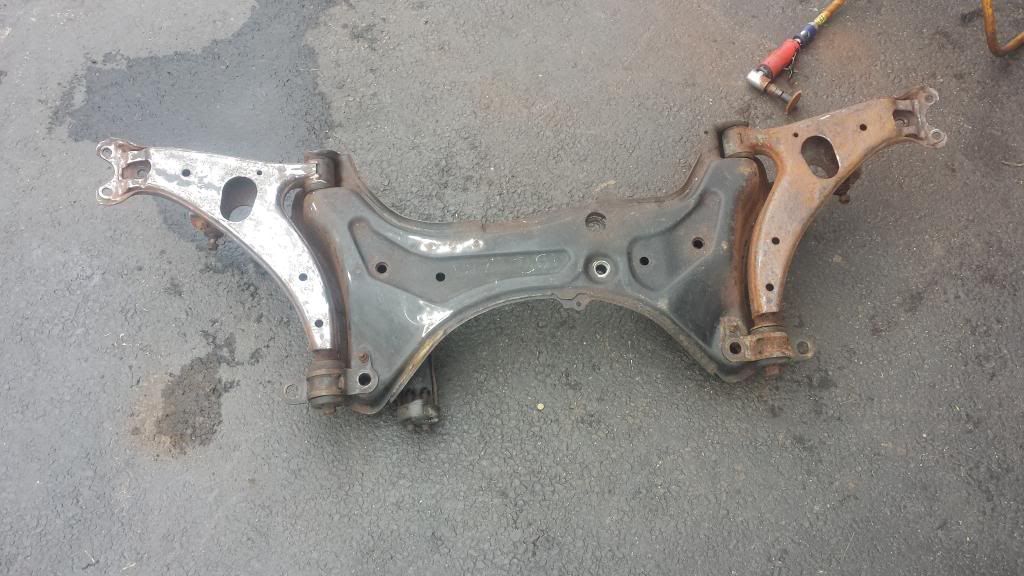
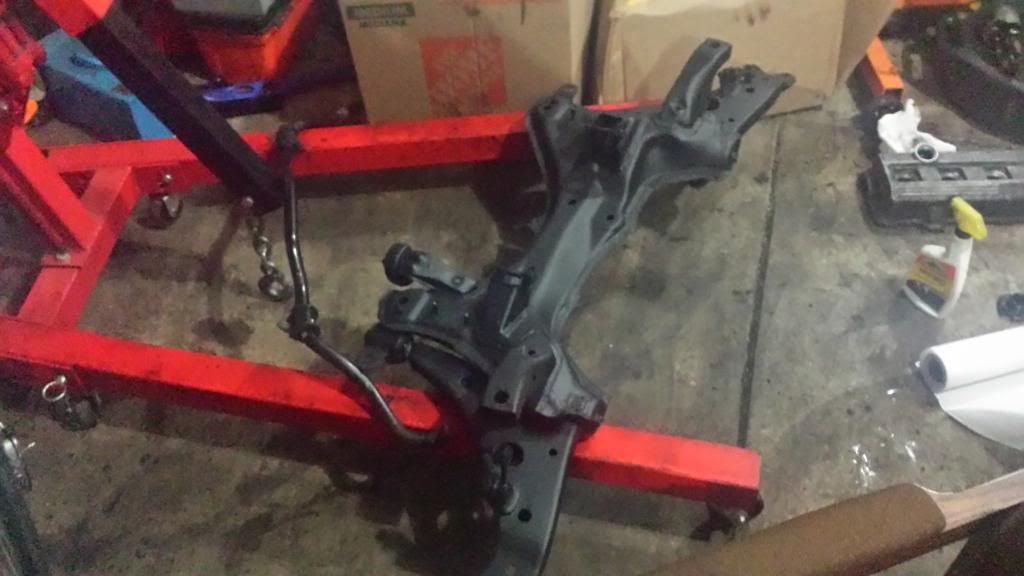
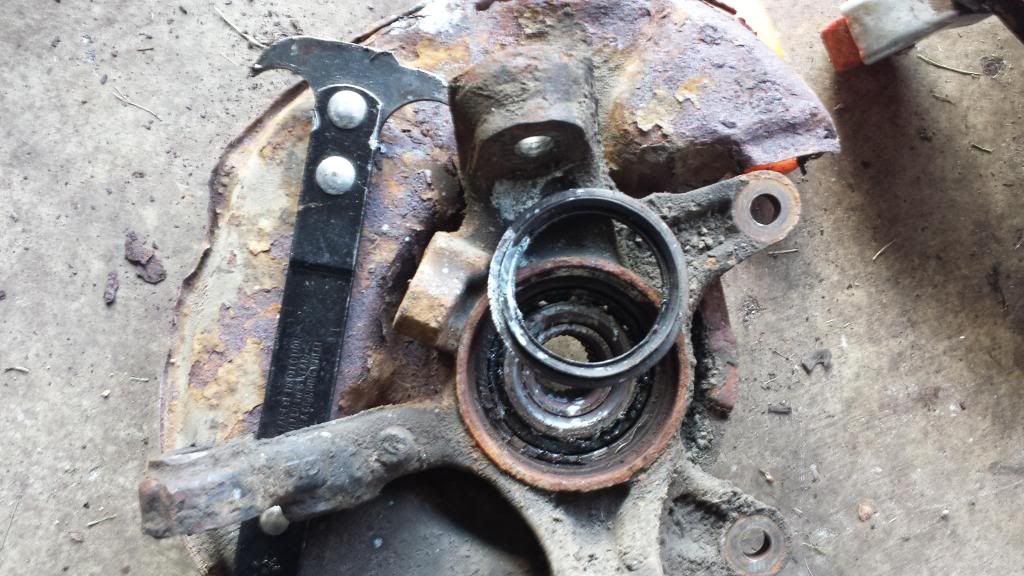
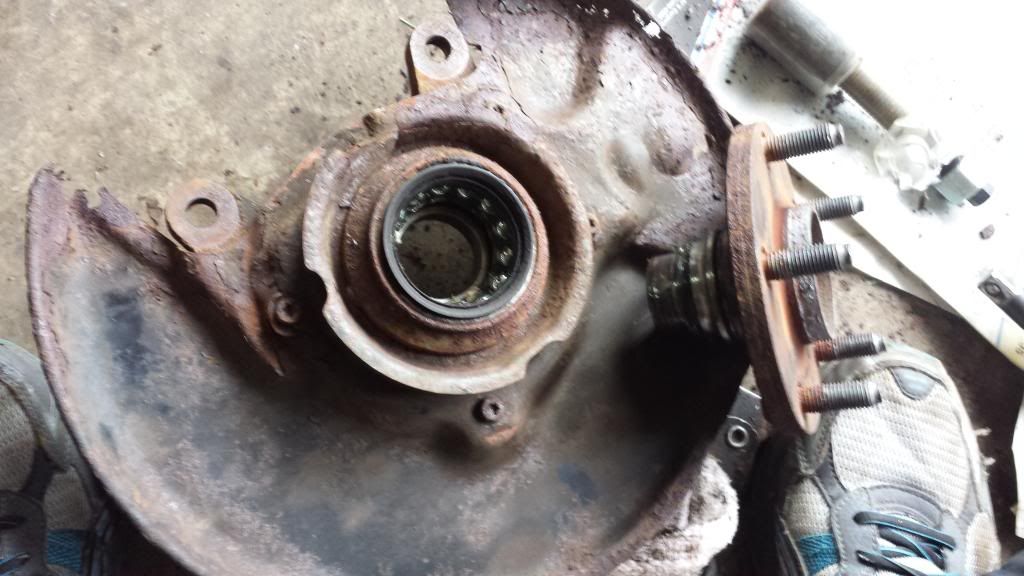
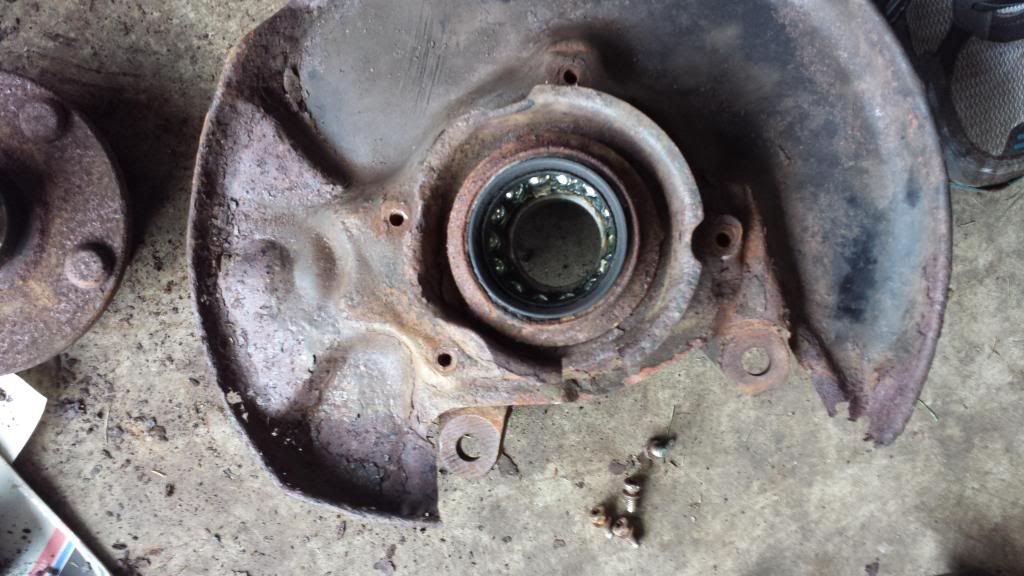
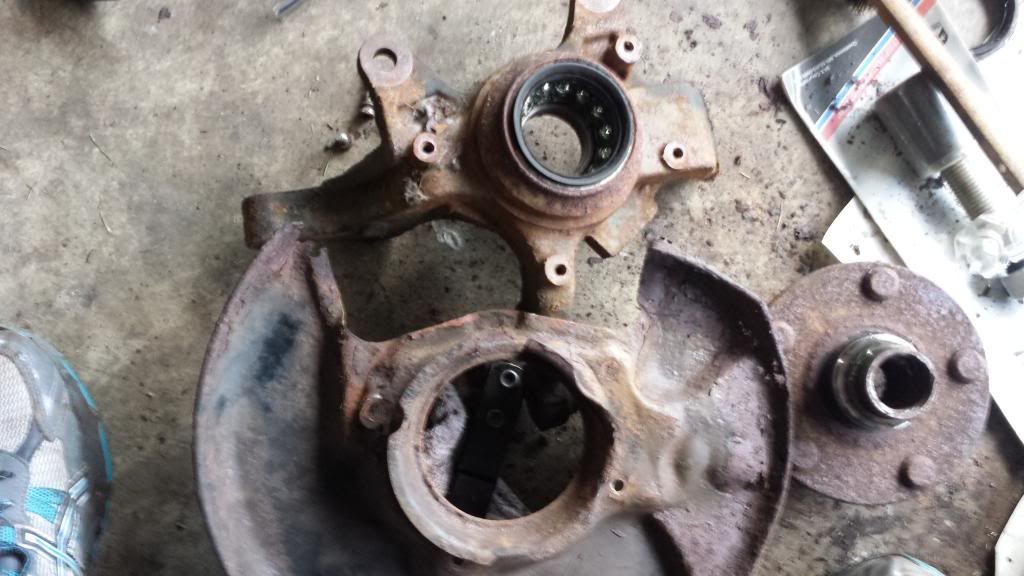
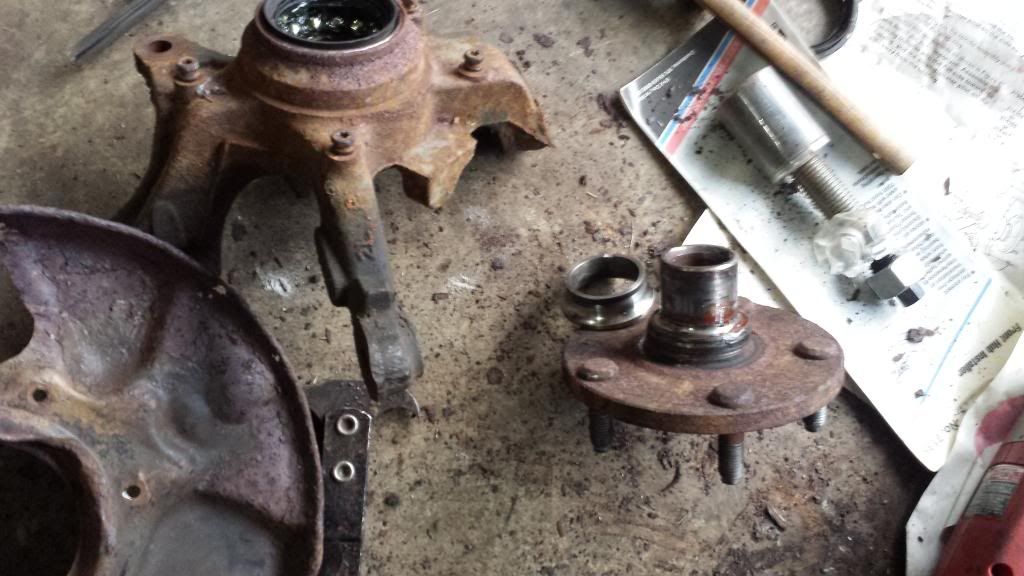
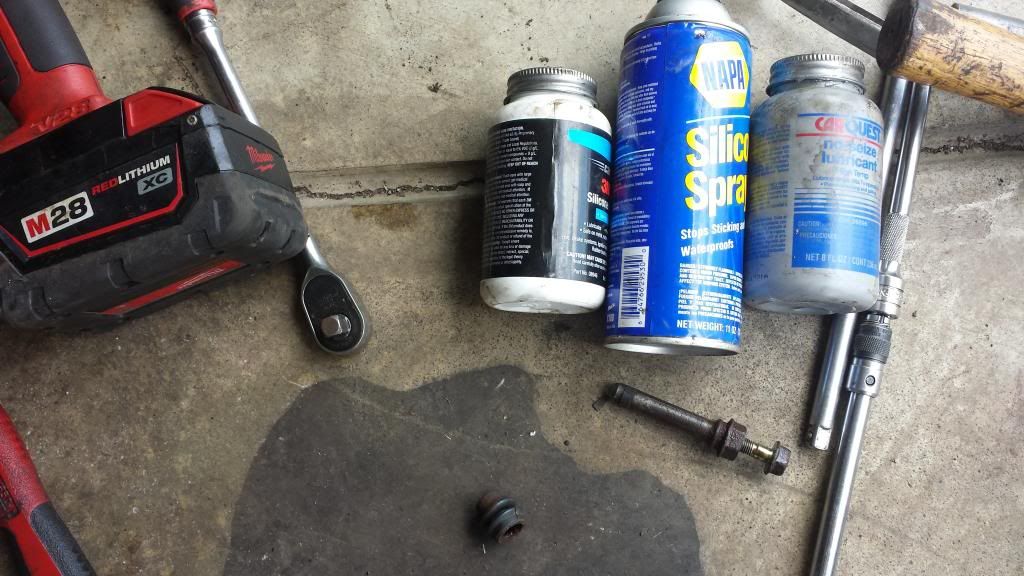
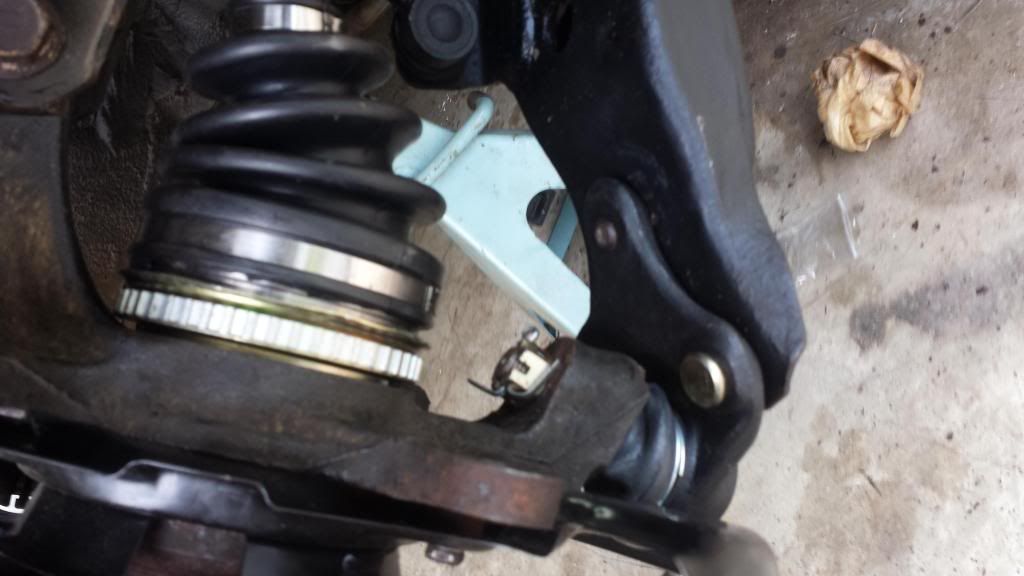
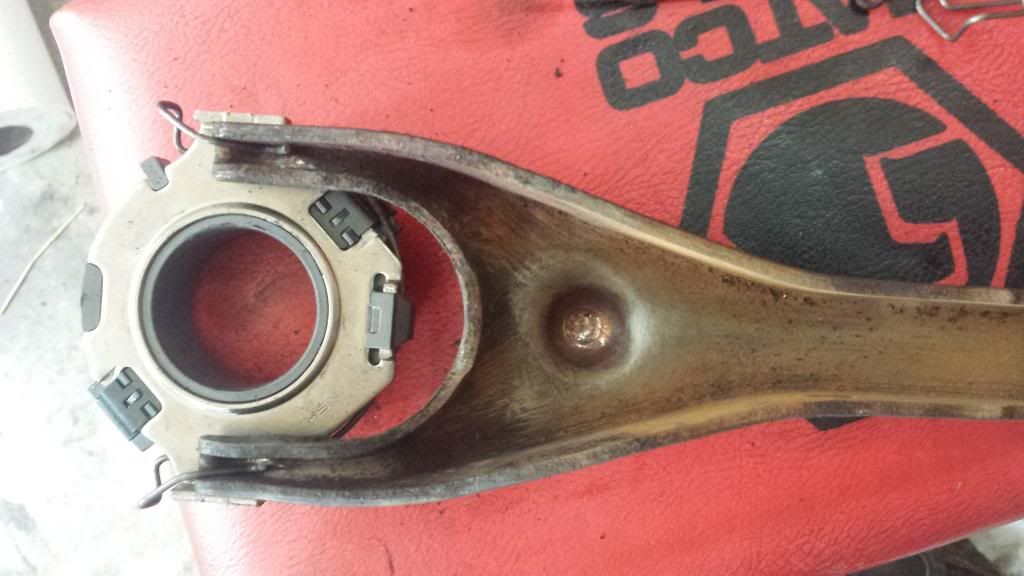
      Replace the wheel bearings and a steering knuckle.
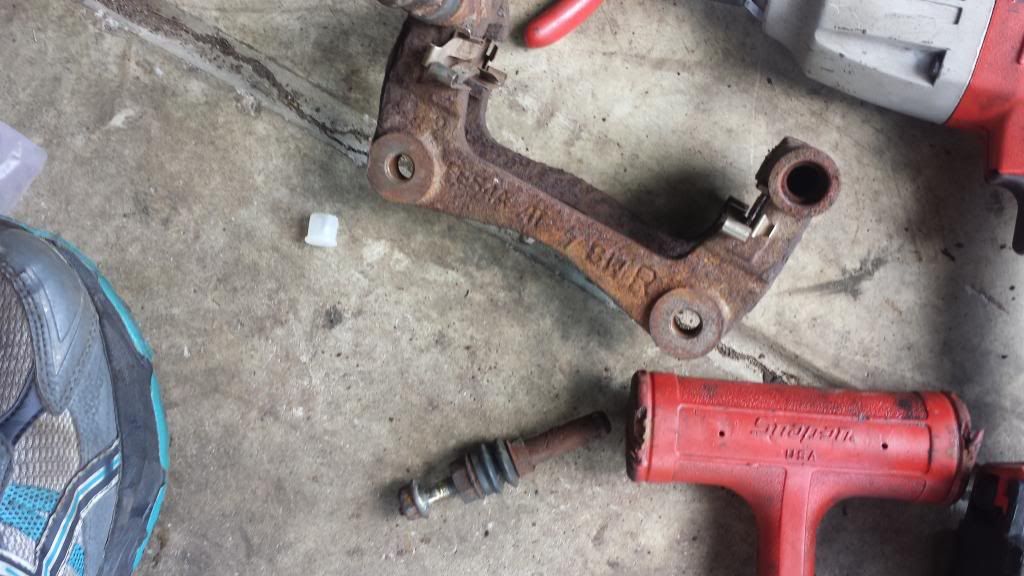
      Replaced the brakes
      Put in entire new exhaust system.
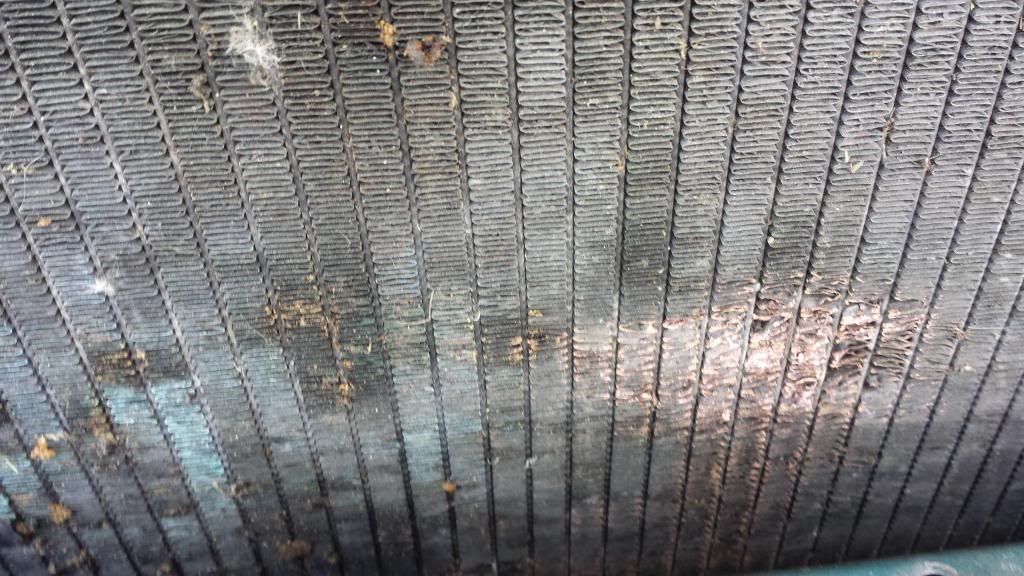
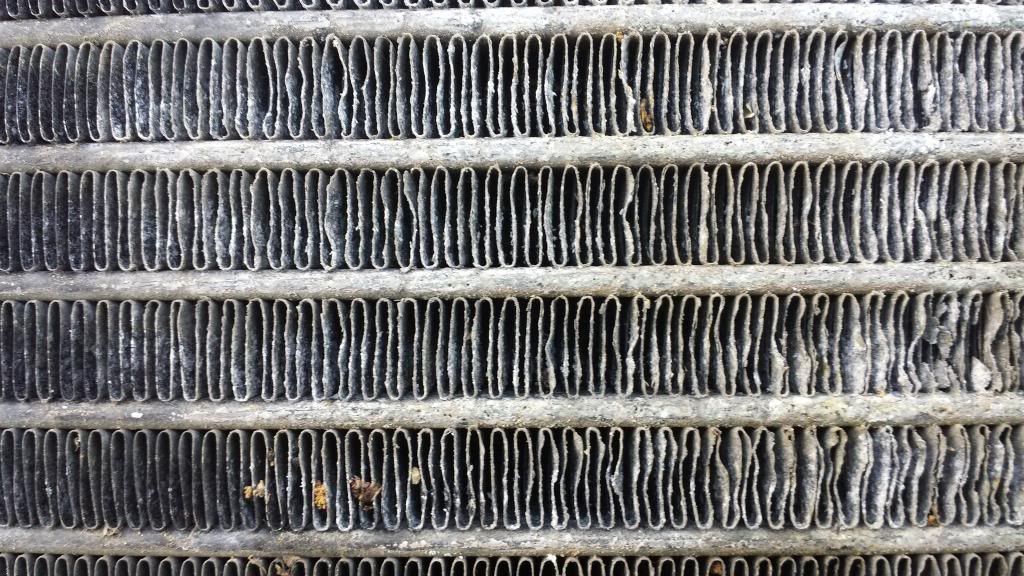
      Replaced Radiator and condenser (and fixed the Air conditioning)
      Replaced tires (they were mismatched)

      A pic of the car… Stay tuned for lots more pics and story of the rebuild and bringing this car back to life…

    Viewing 15 replies - 1 through 15 (of 16 total)
    • Author
      Replies
    • #617740
      EricTheCarGuy 1EricTheCarGuy
      Keymaster

        Post the pics! 🙂

        #618080
        A toyotakarlIts me
        Moderator

          Chapter 1. Engine removal.

          Since the car was barely running I could not really judge how well the clutch was holding, so I figured I would pull the whole engine and replace the clutch… Also, since it is such a PITA to replace the head with the engine in the car (as well as do the timing).. And, since this is a 4 X 4, the only way to replace the clutch was to drop the engine out the bottom. So I will make this easy for myself and just work on the engine out of the car…

          Fairly straightforward procedure here..

          – Disconnect drive shaft
          – Remove wheels, brake assembly and axle shafts from steering knuckle
          – From interior of car, remove wiring harness from the computer and run whole wiring assembly back through the firewall
          – Remove distributor
          – Remove engine coolant assembly
          – Remove thermostat housing and thermostat
          – remove serpentine belt, A/C compressor, alternator
          – Remove air cleaner assembly, EVAP canister
          – Remove throttle body
          – Disconnect steering linkage
          – Remove exhaust pipe
          – Remove exhaust manifold and 1st Catalytic converter
          – Drain engine oil, drain trans oil
          – Disconnect 3 bolts on each side holding the engine cradle
          – Disconnect front engine support fixture (2 bolts) from front of car
          – Drain and remove radiator (was already empty)
          – Remove condenser
          – Remove transmission oil coolant lines..
          – Remove Trans shift linkage
          – Disconnect grounds from body
          – Disconnect wiring from engine which was attached to body..
          – Disconnect passenger and driver engine mounts…

          All total around 4 hours work for me to drop this on the ground…

          Here is front with air cleaner assembly and evap container removed.. Note I have removed the condenser and radiator already…

          I noticed when I removed the radiator and condenser, they were both damaged… It appears someone hit something head on and pushed the bumper back into the condenser, which in turn pushed the condenser into direct contact with the radiator… Both were bad… Ordered new ones… Also went to pick and pull and picked up new metal support bracket to replace the one which had been slightly bent… Also pulled a new bumper…

          Here is the damage to the radiator and condenser…

          Radiator

          Condenser… Note the numerous pin-holes… totally useless to anyone except the scrap-man…

          Using leveler and cherry picker to support engine

          Lowering…

          Dropped… Note, I kept the axle shaft attached… Toyotas can be pains to remove.. Easier (and cleaner) to remove when engine is dropped.

          Moving assembly to work area…

          Removed front cradle… In a weird twist, the leaking oil all over the place prevented half of it from rusting…

          Also had to remove the power steering rack (connected with power steering reservoir and pump) as well as the front engine support and sway bar… Did this while supported by hoist…

          Then lowered engine and removed transaxle and flywheel..

          I love Toyotas for their simplicity!

          Then I cleaned up the suspension parts and cradle as best as possible with a trip to the car wash and a Roloc pad….. then painted them with rustoleum… The bushings were all in good shape as well as the sway bar links!

          Mounted the engine and began the teardown…

          Stay tuned for chapter 2… Engine teardown and what went wrong with the head!

          …. ……

          -Karl

          #618102
          BillBill
          Participant

            T.K., you always do an excellent job with your repair endeavours and pics. I wish I was there to help you. It’s always refreshing to see someone do a job the correct way and with TLC as well.

            #618136
            college mancollege man
            Moderator

              [quote=”wysetech” post=106055]T.K., you always do an excellent job with your repair endeavours and pics. I wish I was there to help you. It’s always refreshing to see someone do a job the correct way and with TLC as well.[/quote]

              I second that. 🙂

              #618443
              A toyotakarlIts me
              Moderator

                Thanks guys… Would love to have you here as well… I’ll even buy the beverages!

                Chapter 2. Engine Teardown…

                After I mounted the engine to my trusty HF Engine Stand (which has worked very well for me over the years)… I proceeded to remove the timing components, waterpump and Oil pump… No real challenges here…

                After that I removed the intake manifold and fuel rail… Put in a box for storage (had many boxes getting filled up)

                Pics of the now removed overhead cams..

                Flipped the head over and this is what I saw…

                Note the deteriorated coolant jacket hole on #1 cylinder (to the right)… As well as the #2 cylinder coolant jacket… The #1 had failed into the cylinder, the #2 hadn’t failed yet, but its time was coming soon…. Note the wash of the valves!

                Before I even removed the head, I ordered a rebuilt head from Cylinder Heads international… It had a 1 year warranty and cost $275… They shipped the head via UPS Ground and include postage sticker, so when you have to return the old head, you just put it back in the box it came in, slap the return sticker on and drop it off at a UPS store…

                Now After I removed the head, I was at an impasse… Clearly the head was bad, and I did not know how long it had been driven in this condition… Serious bearing damage could have been done due to coolant in the oil…. I decided I was going to tear it down and inspect the bearings and the pistons…

                So I flipped the engine over and removed the oil pan.. and proceeded to take it apart…

                Down to bare block…

                What a mess (I have since cleaned up the entire garage :))

                Inspecting the pistons showed the were slightly washed on the sides, but overall in good condition… The bearings did not show much wear and the rings looked good…

                I would now take the pistons, crank and block to the machine shop to have the block cleaned and honed, the pistons inspected and the crank checked as well as polished.

                When I heard back from the machine shop, they said everything looked good… They cleaned and honed the block, polished the crank and measured and balanced the pistons… All was good… No damage done, no need for oversized pistons or bearings… I could order a standard re-build kit…

                This is what I would wait to come…

                It took about a week for it to arrive, so I was standing still on the engine…

                Stay tuned for Chapter 3. Bearings, Brakes and drilling…

                -Karl

                #621398
                A toyotakarlIts me
                Moderator

                  Chapter 3 – Brakes bearings and drilling.

                  Since I had some time, I would do the brakes now… Here are the rear drums… Not many pics… Replaced shoes and rear drum..

                  Then I moved to the fronts and removed the steering knuckles in order to replace the bearings..

                  First I removed the inner seal..

                  The splash shields were in very poor condition, so I decided to replace them (the hub has to come off to remove the splash shield, so this was the time)…

                  Hub removed…

                  Bearing race removed…

                  Re-installed with new bearing (note I had to go back for this shot… engine is in)

                  Sticky calipers… Had to fix them…

                  Needed supplies…

                  Put back… New rotor along with new pads…

                  New ball joint (originals were in poor shape)…

                  In the end, I ended up having to re-do the drivers side… The steering knuckle was bent.. and I had overly positive wheel camber… (pulled an elliptical bolt from the top of the steering knuckle)… A trip to the junkyard for another knuckle and a new bearing and seals… Not fun to have to re-do things… but for the best… Camber was perfect afterward…

                  Then I removed around 10 rusted 10mm 6 X 1.0 bolts from the engine bay… definitely not fun work… (sorry no pics)…

                  -Karl

                  #621400
                  A toyotakarlIts me
                  Moderator

                    Chapter 4a – Engine rebuild Part 1

                    After a week or so, I received my re-build kit..

                    Starting at the block as it came back from the machine shop…

                    Dropping in the crankshaft…

                    Checking the bearing oil clearance with Plastigage by torquing main caps to spec

                    All within spec… Now time for installation…

                    Started by re-installing the crankshaft… Lots of Permatex engine lube…

                    Moving to the pistons… nice and clean… at least on the outside.. Time to check ring end gap…

                    Pushing the ring down with a piston to keep the ring square in the cylinder..

                    Measuring… All within specs…

                    Rings are marked… Numbers side up!

                    Measuring piston ring groove gap… within spec..

                    Marking ring gap locations on top of the piston

                    My work area… and talk show chairs from the 70’s

                    Tools for the job…

                    Piston oil return holes were clogged… A small drill bit makes short work of this…

                    Residue from that oil return hole…

                    Cleaned pistons installed..

                    New oil pump installed..

                    New rear oil seal..

                    Bottom end assembled… (note the cork gasket.. I did not use this… I used Toyota FIPG.. More on that later)..

                    Stay tuned for Chapter 4b Engine rebuild part 2

                    .. .. .

                    -Karl

                    #621414
                    EricTheCarGuy 1EricTheCarGuy
                    Keymaster

                      I must admit, you do nice work.

                      #624896
                      A toyotakarlIts me
                      Moderator

                        Chapter 4b Engine rebuild part 2

                        Sorry for the long delay… My Hard drive crashed, fortunately I had most photos stored on my phone… Anyway back to work…

                        Here is a picture of the engine turned upside down… Note no Cork gaskets… Toyotas don’t do well with cork gaskets, the best thing for them is Toyota Form in Place Gasket (FIPG) – Commonly pronounced FIP-PIG….

                        Prepping new head to go in.. By removing Camshafts…

                        Head Gasket in place…

                        Head fits its on nicely…

                        New Stretch bolts…

                        Torqued to spec…

                        Reinstalling the camshafts…

                        The camshaft did not come with a retaining bolt, so had to get the gear tension synchronized… A small screwdriver helps.. (note this picture comes from removing the original camshaft before installation on the block)

                        Note the 6 mm X 1.0 retaining bolt in the gear…

                        Here is where the dots line up…

                        Time for a new camshaft seal…

                        Front plate attached…

                        Installing exhaust manifold studs…

                        Attaching timing belt and idlers..

                        Spot on in time… (can’t see the dot in the hole, but its right on)…

                        Timing correct here as well…

                        Ready for intake manifold

                        Exhaust manifold and cover on…

                        Next Chapter, Clutch and Transmission….

                        -Karl

                        #625178
                        EricTheCarGuy 1EricTheCarGuy
                        Keymaster

                          Simply awesome post. Thanks for showing us how it’s done.

                          #629649
                          A toyotakarlIts me
                          Moderator

                            Chapter 5 – Transmission, Clutch and flywheel.

                            Started out by removing the the Clutch Fork

                            Cleaned up fork and installed new throwout bearing….

                            Cleaned and greased the pivot point…

                            Resurfaced Flywheel and Clutch kit…

                            Installed Flywheel and installed pressure plate… Note this vehicle has no pilot bearing… Had to cutoff the end of the installation tool to get it lined up correctly… Not too hard…

                            Getting transaxle ready for mating with engine…

                            Mated up

                            Ready for re-installation

                            In position to raise up

                            #629866
                            BillBill
                            Participant

                              Again, an EXCELLENT job T.K.

                              #630315
                              John HugonJohn Hugon
                              Participant

                                In the first post you stated: Removed the engine (twice) Got shipped the wrong head. Does Toyota make different heads for the same engine?

                                #630323
                                A toyotakarlIts me
                                Moderator

                                  Yes, they do… There are differences, There was an air assist on the RAV4 Model Head… This was one of the last models that Toyota used a 2.0L in the United States. Older 2.0’s (Celicas, Camrys) did not have air assist, and they shipped me one of those… When I called them for another head, they said it was for a California car, but my car was not a California Car… I did however have two Cats, so perhaps Toyota made all these RAV4s California Compliant… I really don’t know for sure…

                                  The Company (Cylinder Heads International) sent me a new one immediately and were very good about it… Set me back a total of 8 hours (3 for removal from vehicle, 2 for new head and timing and 3 to put it back in vehicle).. (I got pretty good at taking this engine out :))

                                  A good definition of Air Assist system – “An air-assisted fuel injection system employs an alternate path so that the airflow can take another route down to the intake manifold, where it re-mixes with the normal flow from an area surrounding the injector pintel. This promotes higher atomization, and economy. Especially at low/part throttle. ”

                                  Note the center of the head between fuel injector holes #2 and #3 where the tube is…

                                  The head I needed

                                  The head I got from them…

                                  Only pic I have of Re-Doing the head

                                  #630346
                                  John HugonJohn Hugon
                                  Participant

                                    So if you have 2.0 RAV4 with two Cats you have Air Assist system. Thanks for the info and posting the pictures.
                                    Your niece is very lucky to have an Uncle like you!

                                  Viewing 15 replies - 1 through 15 (of 16 total)
                                  • You must be logged in to reply to this topic.
                                  Loading…